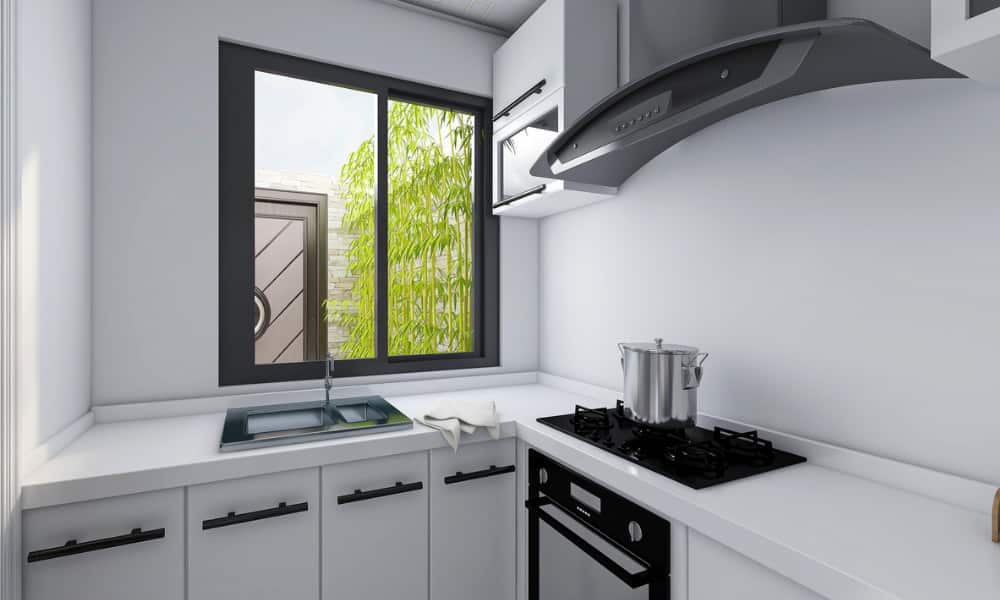
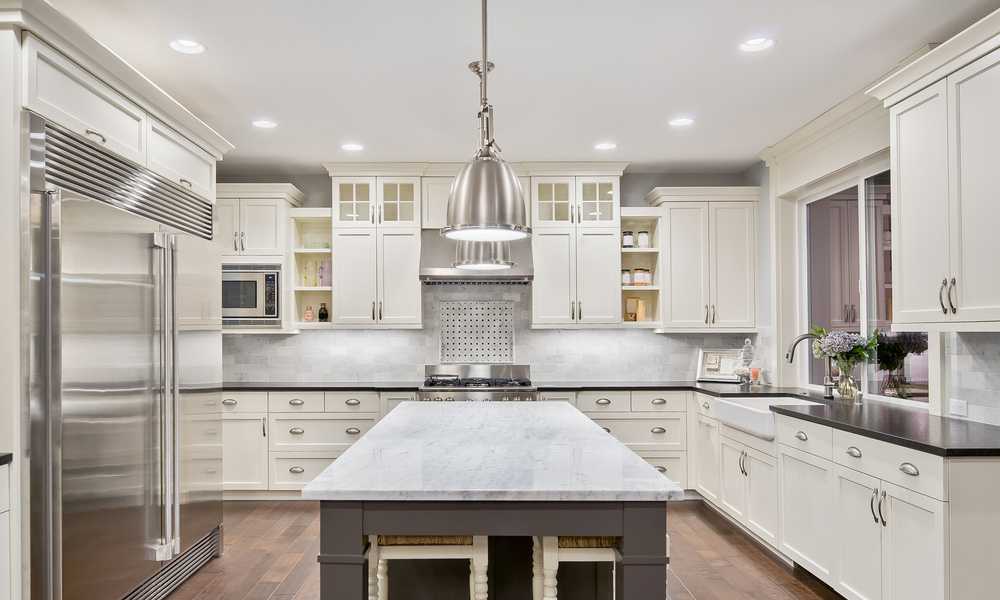
Installing a kitchen sink under a window can bring an aesthetic charm to your kitchen space by allowing a direct view outdoors and ample natural light. However, proper venting of the sink is a crucial aspect of this setup. Venting not only ensures that waste water flows smoothly down the drain, but it also protects against sewer gases from coming up through the pipes. In most traditional plumbing systems, vents are run vertically and exit the roof, But when installing a sink under a window, you’ll need to use alternative methods for venting. It may seem challenging at first, but with careful planning and understanding of your local building codes. It’s absolutely possible to achieve a well-functioning and beautifully located vent a kitchen sink under a window.
Why Do You Need to Vent A Kitchen Sink?
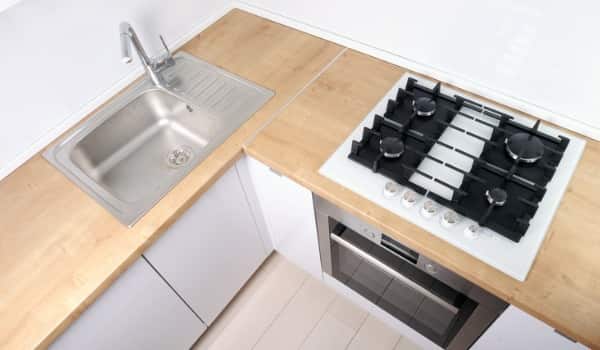
Venting a kitchen sink is important for several reasons. The primary purpose of an airway is to prevent the buildup of sewer gases and odors in the plumbing system. When water flows down the drain, it creates a vacuum that can pull the water out of nearby P-traps, causing a loss of the water seal that blocks sewer gases. By installing a vent, it allows air to enter the system, equalizing pressure and preventing siphoning. Additionally, a properly vented kitchen sink improves drainage efficiency by allowing air to escape, reducing the risk of clogs, and ensuring smooth water flow.
Overview: How to Vent a Kitchen Sink Under a Window?

To vent a kitchen sink under a window, you’ll need to follow these steps. First, determine the ideal location for the airway, considering the proximity to the sink and the window. Then, install a sanitary tee fitting on the drainpipe below the sink, connecting it to a vertical vent pipe that extends through the wall and up to the roof. Ensure the airway pipe is the correct size and meets local building codes. Secure the airway pipe in place and make a proper seal around the wall and roof penetrations to prevent leaks. Finally, install an airway cap on the roof to protect against debris and weather elements while allowing proper air circulation.
Why can the Kitchen Sink be Placed Under a Window?

The placement of a kitchen sink under a window offers several advantages. First, it provides a pleasant view and natural lighting while performing kitchen tasks, making the kitchen space more enjoyable. The window also allows for ventilation, as steam and odors generated during cooking can be easily expelled. Additionally, placing the sink under a window allows for easy access to the exterior for plumbing connections and venting, simplifying the installation process. Overall, the placement of a kitchen sink under a window combines functionality, aesthetics, and practicality.
How to Install a Vent Pipe for the Kitchen?

To install a vent pipe for the kitchen, begin by determining the appropriate size and route for the pipe. Cut an opening in the wall or ceiling where the airway pipe will pass through. Connect the vent pipe to the drain line using a sanitary tee fitting, ensuring a secure connection. Extend the pipe vertically, following the planned route, and secure it to the wall or framing using pipe straps or hangers. If connecting to the main vent, join the pipes with appropriate fittings, or extend the pipe above the roof line if venting through the roof. Install a vent cap on the roof to prevent debris and weather elements from entering. Finally, test the airway pipe by running water in the kitchen sink to ensure proper drainage and ventilation.
Understanding the basics of plumbing venting

Definition and purpose of plumbing vents
Plumbing vents are an integral part of a plumbing system, consisting of pipes or pipe extensions that connect to the drain lines and extend outside, often through the roof. The main purpose of plumbing vents is to provide a means for air to enter the plumbing system, facilitating proper drainage, preventing issues such as trap siphoning, and maintaining the overall health and functionality of the system.
Role of vents in preventing trap siphoning and maintaining proper drainage
Vents play a vital role in preventing trap siphoning and maintaining proper drainage. When water flows down a drain, it creates a suction force that can potentially empty water from nearby traps, which are designed to block sewer gases from entering living spaces. By incorporating vents, air can enter the system, equalizing pressure and preventing siphoning. This ensures that traps remain filled with water, effectively sealing out sewer gases and preventing unpleasant odors or health hazards associated with their presence.
Assessing the venting needs for a kitchen sink under a window

Determining the distance from the sink to the nearest vent
When assessing the venting needs for a kitchen sink located under a window, it is crucial to determine the distance between the sink and the nearest existing vent. Building codes typically specify the maximum allowable distance between a fixture and its corresponding vent. Measure the distance accurately and verify if it adheres to the local regulations. If the distance exceeds the allowable limit, additional venting measures may be necessary to ensure proper venting.
Identifying existing venting options or the need for a new vent
In order to assess the venting options, begin by examining the existing plumbing layout. Check if there are nearby vent pipes connected to other fixtures or plumbing systems, such as the main plumbing stack or airway stack. These existing vents might be suitable for venting the kitchen sink. If they are within close proximity and meet the requirements for distance, they can be utilized for proper venting.
Choosing the appropriate venting method

Venting through the roof
When choosing the appropriate venting method for a kitchen sink, venting through the roof is a common and effective option. This method involves installing a vent pipe that extends from the sink drain and passes through the roof, providing efficient airflow, odor control, and compliance with building codes. It requires careful consideration of factors such as vent pipe size, roof penetration location, and proper connection to the drain system. Consulting a professional plumber is recommended to ensure compliance and proper installation, resulting in effective venting for the kitchen sink.
Selecting a suitable vent pipe size
Refer to local building codes to determine the required airway pipe size for your kitchen sink. The standard sizes are usually 1.5 Or 2 inches in diameter. Consider factors such as the distance to the roof and the number of fixtures being vented when selecting the pipe size. It is crucial to choose a vent pipe size that meets the regulations and provides adequate airflow for proper venting.
Installing a vent pipe through the roof
Identify the optimal location on the roof for the vent pipe. It should Be positioned away from any obstructions and at least 10 feet away from any openings, Such as windows or doors, to prevent odors from re-entering the house. Cut a hole in the roof that matches the size of the airway pipe and ensure proper waterproofing measures are taken, such as using flashing, boot, or collar, and sealing with appropriate roof sealants. This will protect against water leaks and maintain the integrity of the roof.
Connecting the vent pipe to the drain system
From the kitchen sink drain, extend a vertical airway pipe upwards through the ceiling and roof, connecting it to the newly created hole. Use appropriate fittings, such as a sanitary tee or a wye fitting, to connect the airway pipe to the drain system. Ensure the connections are secure and watertight to prevent any leaks or air gaps.
Tips for venting a kitchen sink under a window
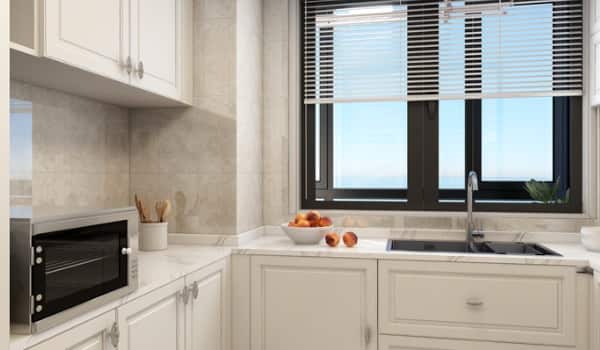
1. Check for Existing Ventilation
Before installing a new airway, check if there are any existing vent pipes nearby that can be utilized. This can save you time, effort, And potential complications.
2. Measure Twice, Cut Once
Take accurate measurements to ensure the proper sizing and placement of the vent pipe. Double-check your measurements before making any cuts to avoid costly mistakes.
3. Use U-Shaped Pipes
Install a U-shaped pipe, also known as a trap, underneath the sink. This trap prevents sewer gases from entering the kitchen and provides a water seal to prevent odors.
4. Install a Back flow Preventer
Consider installing a back flow preventer in the airway line. This device helps prevent any back flow of sewer gases or water, maintaining a sanitary and odor-free environment.
5. Install Flexible Piping
Opt for flexible piping, such as flexible PVC or PEX, for the airway line. Flexible pipes are easier to install in tight spaces and can be adjusted as needed for a precise fit.
6. Pay Attention to Slopes
Ensure proper slopes in the vent line to facilitate efficient drainage. The vent pipe should have a gradual slope upward from the sink towards the main airway stack to allow for proper airflow and prevent blockages.
7. Seal Gaps Around Pipes
Use appropriate sealing materials, such as the plumber’s putty or silicone caulk, to seal any gaps or joints around the airway pipes. This helps prevent leaks and ensures proper venting.
Hiring a professional or DIY approach

Assessing personal plumbing skills and experience
Evaluate your own plumbing skills and experience honestly. Plumbing projects can vary in complexity, And it’s important to have a good understanding of the reIt is essential to familiarize yourself with the plumbing codes and regulations specific to your local area. Quired techniques And knowledge. Consider whether You have the necessary skills, Tools, And knowledge to complete the task effectively and safely.
Considering the complexity and potential risks involved
Plumbing work can involve intricate systems, specialized tools, and potential risks such as leaks, water damage, or improper installations. Assess the complexity Of the task at hand and determine if it exceeds your Capabilities. Consider the potential risks involved, including the impact of any mistakes or incorrect installations.
Deciding whether to hire a licensed plumber or proceed with a DIY approach
Deciding whether to hire a licensed plumber or proceed with a DIY approach: Based on your assessment Of personal skills And the complexity of the task, make an informed decision about whether to hire A licensed plumber Or proceed with a DIY approach. If the project Is complex, requires permits, Or involves significant risks, it is generally recommended to hire a licensed Plumber. Licensed plumbers have the expertise, experience, and knowledge to ensure proper installations, compliance with codes, and long-term functionality. They can provide peace of mind and potentially save you from costly repairs in the future. However, for simpler tasks that fall within your skill level and pose minimal risks, a DIY approach may be suitable.
Ensuring code compliance and safety

Familiarizing with local plumbing codes and regulations
It is essential to familiarize yourself with the plumbing codes And regulations specific to your local area. These codes outline the minimum standards for plumbing installations and ensure safety, functionality, and proper sanitation. By understanding and adhering to these codes, you can ensure that your plumbing work meets the necessary requirements and passes any required inspections.
Considering the impact of venting on aesthetics and window functionality
When installing a airway for a kitchen sink, it is important to consider the aesthetic impact and potential interference with window functionality. The vent pipe’s location and size should be carefully chosen to minimize any visual disruption or obstruction of the window view. Additionally, ensure that the vent does not impede the opening or closing of the window to maintain its functionality.
Complementing proper measures to prevent leaks and maintain structural integrity
When undertaking plumbing projects, it is crucial to implement measures that prevent leaks and maintain the structural integrity of your home. This includes using appropriate materials, such as quality pipes and fittings, and ensuring proper installation techniques. Properly sealing joints, employing leak-proof connections, and conducting thorough testing are essential steps to prevent water damage and maintain the integrity of the plumbing system.
How To Fix a Kitchen Sink Vent For Adequate Drainage?
To fix a kitchen sink vent for adequate drainage, start by checking for blockages in the vent pipe and clearing any obstructions. Clean the vent pipe thoroughly to remove any accumulated debris or residue. If the airway pipe is damaged or disconnected, repair or reconnect it as necessary. Ensure that the vent pipe is properly sloped to facilitate efficient drainage. Additionally, inspect the airway cap on the roof for any obstructions or damage and make necessary repairs or replacements. If the issue persists Or if you’re unsure Of how to proceed. It’s recommended to seek the assistance of a professional plumber for a thorough assessment and proper resolution.
What tools do you need to vent a kitchen sink under the window?
To vent a kitchen sink under a window, you will need several tools to complete the installation. The necessary tools include a measuring tape for accurate measurements, a hacksaw or reciprocating saw to cut the airway pipe, a pipe wrench or adjustable pliers to tighten fittings, a drill with hole saw attachments for creating the roof penetration, a level to ensure proper alignment, a screwdriver for securing fittings, and sealing materials such as plumber’s putty or silicone caulk to seal gaps and joints. Additionally, you may need a flashlight, pipe brush, and high-pressure water jet for cleaning the vent pipe. It’s essential to have the appropriate tools on hand to ensure a successful and efficient venting installation.
Does a kitchen sink need to be vented?
Yes, a kitchen sink needs to be vented. Venting is crucial for proper drainage in plumbing systems, including kitchen sinks. Airway pipes allow air to enter the drain system, preventing the formation of a vacuum and maintaining the necessary air pressure for smooth water flow. Without proper venting, the drainage can be slow, and it may lead to gurgling sounds, foul odors, and potential drainage issues. Venting also helps to prevent trap siphoning. Where water in the drain trap is sucked out. Which can result in sewer gas entering the living space. By venting the kitchen sink, you ensure efficient drainage, prevent plumbing problems, and maintain a hygienic and odor-free environment.
Where should a kitchen sink vent be placed?
A kitchen sink vent, also known as a airway stack or vent pipe. Should be placed vertically and positioned As close to the kitchen sink drain as possible. It is typically installed behind or within the wall, extending vertically through the roof. The vent pipe should be located at least 10 Feet away from any openings such as windows Or doors to prevent odors from re-entering the house. The specific placement may vary depending on the plumbing layout and local building codes, but the primary objective is to provide proper venting for the kitchen sink drain to ensure efficient drainage and prevent trap siphoning.
Will a sink drain without a vent?
A sink may still drain without a vent, but it may not function optimally. Without a ventilator, the drainage can be slower, and issues such as gurgling sounds, foul odors, or even potential backups can occur. Vents play a crucial role in maintaining proper air pressure within the plumbing system, allowing wastewater to flow freely and preventing the formation of a vacuum. They also help prevent trap siphoning, which can lead to sewer gas entering the living space. While a sink can technically drain without a vent. It is highly recommended to have proper venting in place to ensure efficient drainage, prevent plumbing problems, and maintain a healthy and odor-free environment. Compliance with local building codes and regulations regarding venting is also essential.
The Final Thought
Vent A kitchen sink under a window may seem daunting at first. But it is a manageable project that can be completed with the right tools and knowledge. Understanding the importance f proper ventilation for your plumbing system can save you time and money in the long run. By following the steps outlined in this article. You can ensure that your kitchen sink is properly vented And functioning efficiently. So why wait? Take on this project yourself Or hire a professional to get started today! Your plumbing system will thank you for it.

