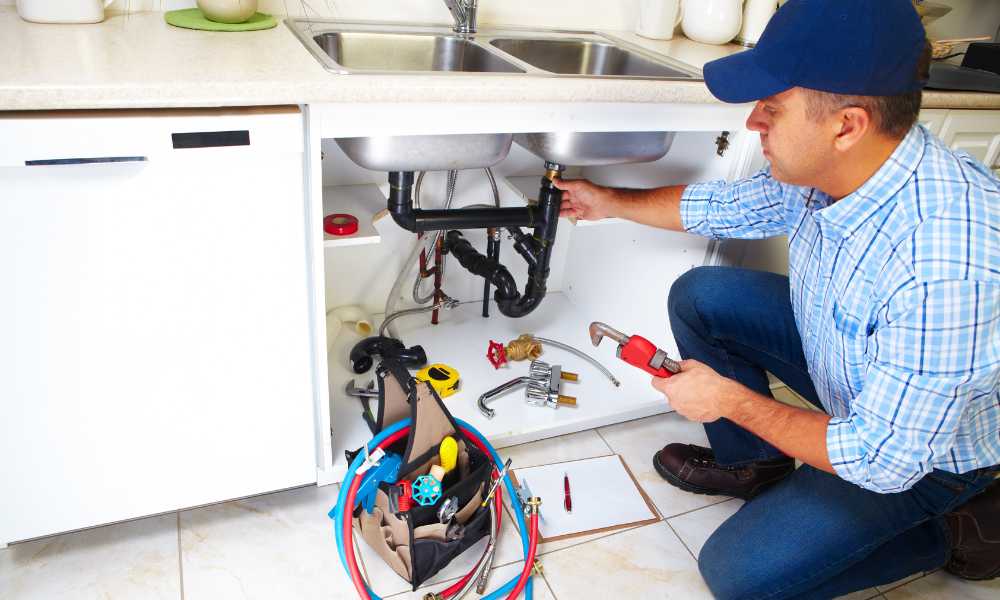
A leaky kitchen faucet may seem like a minor inconvenience, but addressing it promptly is crucial for several reasons. Firstly, a constant drip not only wastes water but can significantly impact your water bills over time. The financial aspect aside, the environmental implications of water wastage are substantial, contributing to a global concern for conservation.
Furthermore, ignoring a leak may lead to more severe consequences, such as water damage to surrounding areas, potential mold growth, and damage to cabinetry or fixtures. The seemingly minor leak can escalate into a larger issue if neglected, making it essential to tackle the problem at its onset for both economic and environmental reasons.
Assessment of the Leak

Identifying the type of faucet
When addressing a leaky kitchen faucet, it’s essential to identify the specific type of faucet you have. Different faucet designs may have unique mechanisms, and understanding the type will guide you in the disassembly and repair process. Common types include ball faucets, cartridge faucets, compression faucets, and ceramic disc faucets.
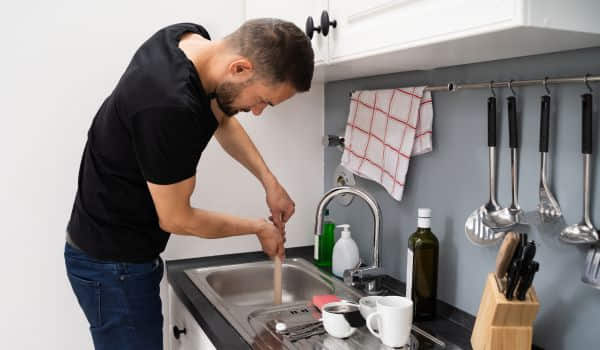
Determining the source and severity of the leak
Before diving into repairs, carefully assess the leak. Check for visible signs of water around the faucet base, handles, or spout. Determine if the leak is constant or occurs when the faucet is turned on. Understanding the source and severity of the leak will guide you in selecting the appropriate tools and replacement parts.
Gathering Necessary Tools and Materials
List of common tools needed
- Adjustable wrench
- Plumber’s tape
- Screwdrivers (Phillips and flathead)
- Pliers
- Pipe wrench (if applicable)
- A bucket or towel for water containment
- Plumber’s putty (if needed)
Required replacement parts or kits
- O-rings
- Washers
- Cartridge or valve (depending on faucet type)
- Faucet repair kit (available for some faucet models)
- Plumber’s grease
- Replacement screws
- Teflon tape
Ensuring you have the right tools and replacement parts is crucial for a smooth and effective repair process. Having a comprehensive toolkit will empower you to handle various types and address issues ranging from worn-out washers to faulty valves.
Shutting Off Water Supply
Locating the shutoff valves
Before beginning any repair, locate the shutoff valves beneath the sink. These valves control the water supply to the. Typically, there are separate valves for hot and cold water. They may be located on the wall behind the sink or under the sink itself.
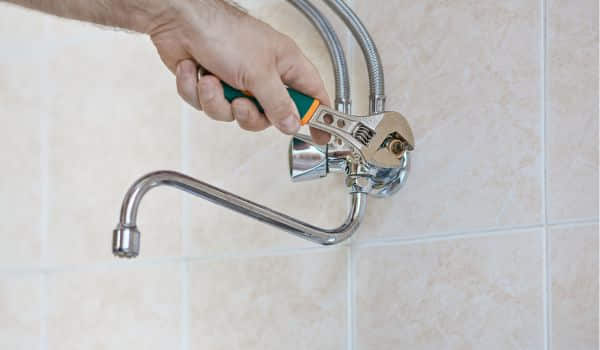
Turning off both the hot and cold water supply
Using an appropriate tool (usually a wrench), turn the shutoff valves clockwise to shut off the water supply. Ensure both the hot and cold water valves are fully closed to prevent any water flow during the repair process.
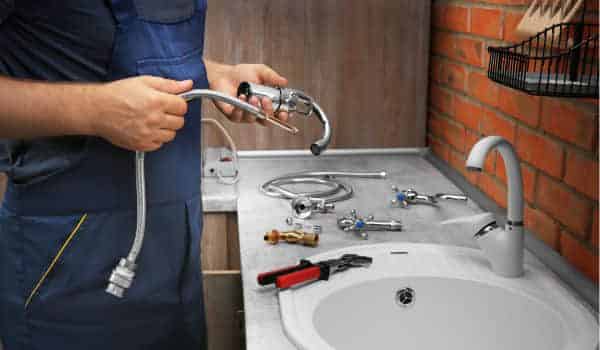
Disassembly of the Faucet
Removing the faucet handle
- Start by removing any decorative caps or covers on the handle to access the screw.
- Use a screwdriver to unscrew the handle screw.
- Once the screw is removed, gently lift or pry off the handle.
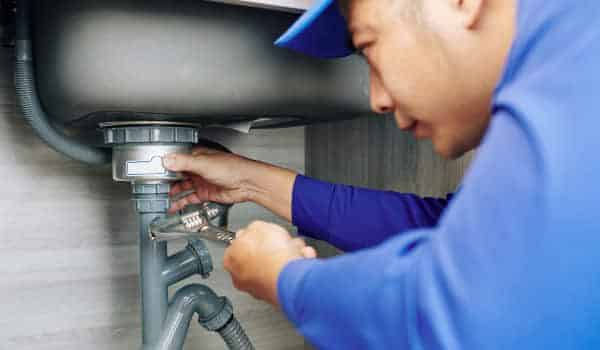
Dismantling the faucet components
After removing the handle, locate the retaining nut or clip securing the cartridge or valve. Use pliers or an adjustable wrench to loosen and remove the retaining nut. Carefully pull out the cartridge or valve. Depending on the type, this may involve additional components such as O-rings and washers. If you encounter any resistance during disassembly, use caution and refer to the manufacturer’s instructions if available. Some may have specific disassembly steps unique to their design.
Inspection and Cleaning
Examining components for damage or wear
Once the components are disassembled, carefully inspect each part for signs of damage or wear. Check O-rings, washers, and the cartridge or valve for cracks, tears, or deformities. Pay close attention to any corrosion or mineral buildup, as these issues can contribute to leaks. If you notice any compromised components, it’s crucial to replace them to ensure a successful repair.
Cleaning sediment and debris
Use a soft brush, such as an old toothbrush, to gently scrub away any sediment or debris that may have accumulated on the components. Pay special attention to areas around O-rings and washers where buildup is common. If there’s a significant mineral deposit, soak the components in vinegar for a few hours to dissolve the mineral buildup. Thorough cleaning prepares the components for reassembly and helps maintain optimal functionality.
Replacing Faulty Parts
Identifying the specific parts causing the leak
Pinpoint the exact components contributing to the leak. Common culprits include worn-out O-rings, damaged washers, or a faulty cartridge or valve. Carefully examine each part, paying attention to where the leak originates. If uncertain, run a simple water test by turning on the water supply briefly and observing for any visible leaks. Identifying the specific problematic parts is crucial for an effective repair.
Installing new O-rings, washers, or other components
Once identified, replace the faulty components with new, compatible parts. Apply the plumber’s grease to O-rings and other rubber components to ensure proper lubrication and a watertight seal. Follow the manufacturer’s guidelines for installing replacement parts, and use the correct tools to secure them in place. Ensure all components are properly aligned and tightened to prevent future leaks.
Taking the time to inspect, clean, and replace faulty parts during the repair process is essential for the long-term success of fixing a leaky kitchen. This meticulous approach not only resolves the immediate issue but also helps prevent future leaks, ensuring the continued efficiency of your faucet.
Reassembling the Faucet

Putting back together the faucet components
Carefully reassemble the components in the reverse order of disassembly. Start by inserting the cartridge or valve back into its housing. Secure it in place with the retaining nut or clip. Then, reattach the handle by aligning it with the stem and tightening the handle screw. Ensure any decorative caps or covers are replaced as well.
Ensuring proper alignment and tightness:
Take extra care to align all components accurately during reassembly. Tighten the retaining nut or clip securely, but avoid over-tightening, which could damage the components. Confirm that the handle is firmly in place, ensuring smooth and controlled movement. Proper alignment and tightness are crucial to prevent future leaks and maintain functionality.
ITurning On the Water Supply
Gradually opening the shutoff valves
Slowly turn the shutoff valves counterclockwise to gradually restore the water supply to the faucet. This gradual approach helps prevent water hammer, which can occur when water rushes through the pipes too quickly.
Checking for leaks after restoring water supply
Once the water supply is fully restored, check for any leaks around the handles, or spout. Observe closely while running both hot and cold water. If there are any signs of leaks, tighten the relevant components as needed. Addressing leaks promptly at this stage ensures that the repair has been successful and prevents potential water damage.
By following these steps during reassembly and water restoration, you complete the repair process. Thorough attention to detail ensures not only the elimination of the initial leak but also the prevention of future issues, allowing you to enjoy a fully functional and leak-free kitchen faucet.
Testing and Final Checks
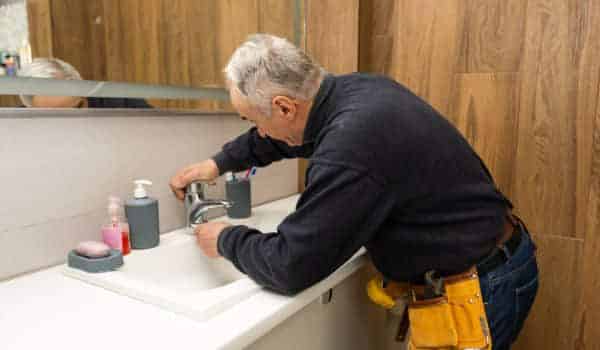
Operating the faucet to ensure proper functionality
Turn on both hot and cold water handles, and operate the in various modes (if applicable, such as spray or stream). Check for smooth water flow and consistent temperature control. Ensure that the handle moves effortlessly without any stiffness or resistance.
Inspecting for any residual leaks
Carefully examine the entire, including the base, handles, and spout, for any signs of residual leaks. Pay attention to areas that were previously problematic. If any leaks persist, revisit the specific components involved and tighten or replace them accordingly.
Tips for Maintenance
Regularly checking for leaks
Make it a habit to inspect your kitchen faucet for leaks on a regular basis. Check beneath the sink and around the for any signs of water accumulation. Prompt identification and resolution of leaks can prevent water damage and save on water bills.
Preventive measures to avoid future issues
Implement preventive measures to extend the lifespan of your.. Install a water softener if you have hard water to reduce mineral buildup. Additionally, avoid using excessive force when operating the handles, as this can contribute to wear and tear. Educate household members on proper use to maintain optimal functionality.
Conclusion
Addressing a leaky kitchen faucet is not only about fixing the immediate issue but also ensuring the long-term efficiency of the fixture. Regular maintenance, prompt leak detection, and proper repair techniques contribute to water conservation, prevent potential damage, and enhance the overall functionality of your kitchen faucet. By following these steps and incorporating preventive measures, you can enjoy a reliable and leak-free faucet for years to come.