Are you tired of scrubbing away at your kitchen aid oven, only to find stubborn stains and residue still lingering? Well, fret no more! In this article, we will show you the secrets to achieving a sparkling clean kitchen aid oven in no time. From simple homemade cleaning solutions to expert tips and tricks, you’ll be amazed at how easy it can be to restore your oven to its former glory.
So put on your cleaning gloves and get ready to tackle those grease stains with confidence – your kitchen aid oven will thank you!
How often should I clean my Kitchen Aid oven?
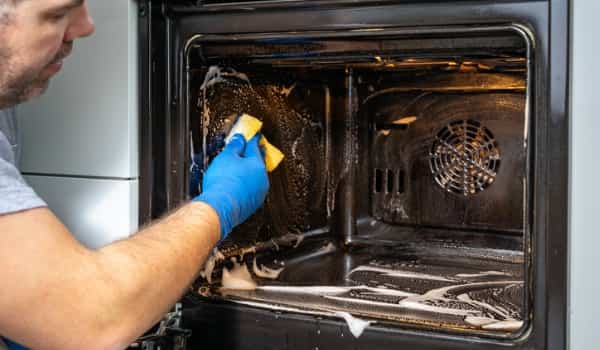
The frequency of cleaning your Kitchen Aid oven depends on how often you use it. For light usage, a monthly cleaning routine, including wiping down spills and crumbs, should suffice.
However, for heavy usage or after cooking messy dishes, it’s advisable to clean it more often, ideally after each use or at least every two weeks, to prevent the buildup of grease and food residue, which can lead to unpleasant odors and affect cooking performance.
Regular maintenance will help keep your oven in good working condition and extend its lifespan.
What cleaning products are safe to use on my Kitchen Aid oven?

To safely clean your Kitchen Aid oven, it’s best to use mild, non-abrasive, and non-toxic cleaning products. Baking soda and water can be mixed into a paste for gentle scrubbing, while a vinegar and water solution works well for wiping down surfaces.
Commercial oven cleaners labeled as safe for self-cleaning ovens are also suitable but should be used with caution, following the manufacturer’s instructions. Avoid using harsh chemicals, abrasive scrubbers, or metal utensils that can damage the oven’s interior.
Always ensure the oven is completely cool before cleaning, and remove any residue or cleaning product thoroughly to prevent any harmful fumes during future use.
Supplies
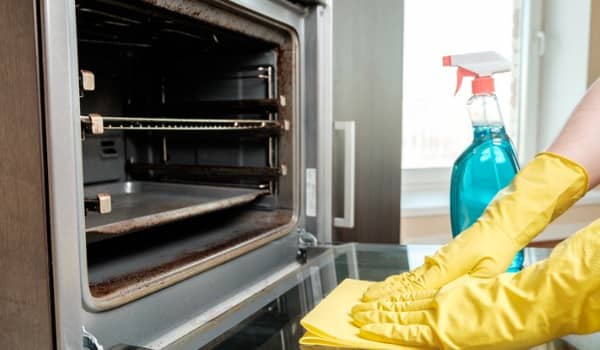
List essential cleaning materials.
You will need essential cleaning materials to clean your Kitchen Aid oven, including warm water, mild dish soap, baking soda, a non-abrasive scrubbing pad or sponge, dry cloth or paper towels, glass cleaner (or vinegar for a homemade solution), a scrubbing brush for racks, dishwasher detergent for soaking racks, and optional rubber or latex gloves.
Using these supplies will ensure an efficient and thorough oven-cleaning process.
Safety Precautions

Turn off the oven and unplug it.
Start by switching off the oven using the control panel or knobs. Afterward, unplug it from the electrical outlet to eliminate any electrical supply. This step is crucial to prevent accidental activation of the oven while you’re working on it. It reduces the risk of electrical shock and ensures you have complete control over the appliance.
Allow the oven to cool completely.
Ovens can reach extremely high temperatures during use. To ensure your safety, wait patiently for the oven to cool down. This cooling period should be sufficient to reduce the temperature to a level where it’s safe to touch.
The time required for cooling may vary depending on the oven model and how long it has been in use. As a general guideline, wait at least an hour to ensure it’s cool to the touch.
Wear protective gloves and eye protection.
When dealing with an oven, especially during tasks like cleaning or maintenance, it’s essential to shield yourself from potential hazards.
- Protective gloves: Use heat-resistant gloves designed for handling hot objects. These gloves provide insulation against high temperatures and prevent burns to your hands. Make sure the gloves fit properly and cover your hands and wrists completely.
- Eye protection: Wear safety goggles or protective glasses to safeguard your eyes. When cleaning ovens or performing maintenance, there’s a risk of cleaning solutions or debris splashing or falling into your eyes. Eye protection ensures your eyes are shielded from any potential harm.
Preparing the Oven
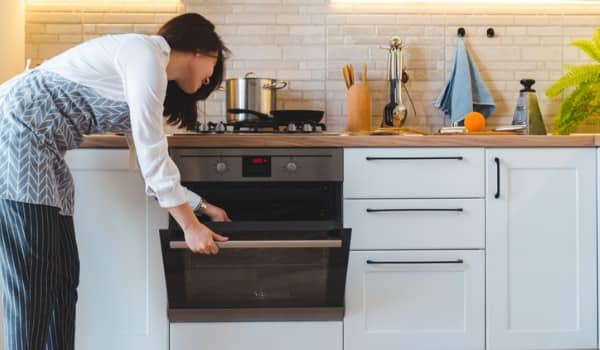
Turn off and cool down the oven.
- Ensure that the oven is no longer in use and is powered off.
- Allow the oven to cool down to a safe temperature before proceeding with any further steps.
Remove racks and oven-safe items.
- Carefully open the oven door.
- Remove any oven racks or trays that are inside the oven. These can usually be pulled out easily.
- Take out any oven-safe items like baking sheets, pans, or dishes that may be inside the oven.
- Place the removed racks and items on a heat-resistant surface to cool down before handling or cleaning if necessary.
Basic Cleaning

Clear loose debris.
Before you embark on the cleaning process, the initial step is to eliminate any loose debris or clutter from the targeted area. This includes getting rid of dust, dirt, crumbs, or any extraneous items that might be present.
Wipe with soapy water.
Following the removal of loose debris, proceed by preparing a solution of warm water and mild dish soap. This can be done by mixing the two in a bucket or spray bottle.
Utilize a clean cloth, sponge, or mop to apply the soapy water solution to the surface you intend to clean. Gently wipe down the surface, applying a bit of pressure as needed to effectively eliminate dirt and grime.
Once done, rinse the surface thoroughly with clean water to ensure the removal of any lingering soap residue. Finally, dry the surface using a clean, dry cloth or towel to prevent water spots or streaks.
Tackle tough stains with a baking soda paste.
In cases where you encounter persistent stains or areas with stubborn grime, the solution lies in creating a baking soda paste. Begin by mixing baking soda with a small amount of water until you achieve a thick paste-like consistency. Apply this paste directly to the stained or dirty area and allow it to sit for a few minutes.
Afterward, use a soft brush, sponge, or cloth to gently scrub the area, working the paste into the stain or grime. Once the task is complete, rinse the area thoroughly with clean water to eliminate any residual baking soda. Conclude the process by drying the surface with a clean cloth.
Cleaning Oven Racks

Remove, soak, scrub, and rinse.
- Remove: Start by removing the oven racks from your oven. Be sure they are cool to the touch before handling them.
- Soak: Fill a bathtub or a large utility sink with hot water. Add a generous amount of dishwashing liquid or oven rack cleaner to the water. Place the oven racks in the water, ensuring they are fully submerged. Allow them to soak for several hours or overnight. This soaking process will help loosen and soften the baked-on grime.
- Scrub: After soaking, use a scrubbing pad, brush, or an abrasive sponge to scrub away the loosened residue and grease from the oven racks. You may also use a paste made from baking soda and water for added cleaning power. Be thorough, especially on stubborn spots.
- Rinse: Rinse the oven racks thoroughly with clean water to remove any remaining soap, baking soda, or debris. You can use a handheld showerhead or a hose if cleaning outside. Ensure that no cleaning products or residues remain on the racks.
- Dry and Reinstall: Once the racks are clean and rinsed, dry them completely with a clean towel or let them air dry. Finally, reinstall the racks into your oven.
Cleaning the Oven Door

Remove the oven door if possible (check the manual).
The first step in cleaning your oven door is to check whether it’s removable. Consult your oven’s manual to determine if this is an option. If it is, follow these steps: Open the oven door fully, locate the door hinges and locking tabs, unlock the hinges, and carefully lift the door off the hinges. Remember that oven doors can be heavy, so handle them with care.
Clean the glass both inside and outside.
Whether the door is removable or not, you can clean the glass effectively. Begin by preparing a cleaning solution of warm water and a mild oven cleaner or a mixture of water and white vinegar.
Apply this solution to the glass using a soft cloth or sponge, ensuring you cover both the inside and outside surfaces.
Gently scrub away any stains or residue using a non-abrasive scrubbing pad or a soft brush, and then wipe the glass clean with a damp cloth.
Reattach the oven door securely.
If you removed the oven door, it’s time to reattach it. Carefully align the door with the hinge receivers on the oven, ensuring it’s positioned correctly. Slide the door onto the hinge receivers, open it fully, and flip the locking tabs back into place to secure the door.
Final Touches
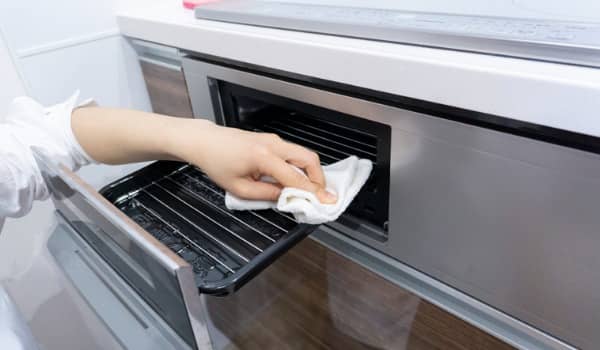
Check for any lingering residue.
Before considering your task complete, it’s essential to meticulously inspect the area or object you’ve been working on. Look for any lingering residue, whether it’s dust, dirt, or remnants of cleaning products.
Take your time to ensure that every surface is free from any unwanted particles or marks. This step is crucial to achieving a thorough and polished result, as even the tiniest residue can detract from the overall cleanliness and appearance.
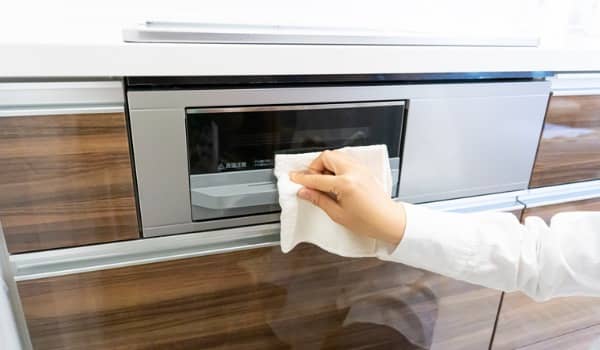
Wipe down the exterior.
To put the finishing touches on your cleaning or maintenance task, focus on the exterior surfaces. Use a clean and damp cloth or an appropriate cleaning solution to wipe down all visible surfaces.
Pay special attention to areas that are frequently touched or prone to collecting fingerprints and smudges, such as doorknobs, handles, or glass surfaces.
This final step not only enhances the overall aesthetics but also ensures that your work remains in top-notch condition, leaving a lasting impression of cleanliness and attention to detail.
Maintenance Tips
Offer guidance for ongoing cleanliness.
To maintain ongoing cleanliness and ensure the longevity of your space or belongings, it’s essential to establish a regular maintenance routine.
Schedule periodic cleaning sessions, whether daily, weekly, or monthly, depending on the specific item or area. Invest in high-quality cleaning tools and products, and always follow manufacturer recommendations for maintenance.
Encourage good habits such as tidying up after use, promptly addressing spills or stains, and ensuring proper ventilation to prevent mold and odors. Consistency in maintenance will help preserve the cleanliness and functionality of your environment or possessions in the long term.
Conclusion
Cleaning your Kitchen Aid oven doesn’t have to be a daunting task. By following these simple steps and utilizing the right cleaning products, you can keep your oven in pristine condition.
Regular maintenance and deep cleaning will not only enhance the performance of your oven but also prolong its lifespan. Remember to always prioritize safety by wearing protective gear and ensuring proper ventilation during the cleaning process.
With a little effort and consistency, you can enjoy a clean and efficient Kitchen Aid oven for years to come. So why wait? Start implementing these cleaning techniques today and reap the benefits of a sparkling oven!
FAQ
1. Can I use the self-cleaning function on my Kitchen Aid oven?
Yes, most Kitchen Aid ovens come with a self-cleaning function. Follow the manufacturer’s instructions for safe and effective use. This function uses high heat to burn off food residues.
2. How do I clean the oven racks?
Remove the oven racks and soak them in warm, soapy water. Use a non-abrasive sponge or cloth to scrub away any remaining grime. Rinse and dry the racks before placing them back in the oven.
3. What’s the best way to clean the oven glass on my Kitchen Aid oven?
To clean the oven window, mix a paste of baking soda and water. Apply it to the glass, let it sit for a while, and then scrub gently with a non-abrasive sponge. Wipe clean with a damp cloth.
4. Can I clean the control panel of my Kitchen Aid oven with water?
No, it’s not recommended to use water directly on the control panel. Instead, use a damp cloth to wipe the control panel gently. Avoid getting water into the control knobs or electronic components.
5. How do I clean the oven’s interior surfaces?
Remove loose debris with a brush or vacuum cleaner attachment. Then, use a soft cloth or sponge with warm, soapy water to clean the interior. Rinse and wipe dry.


