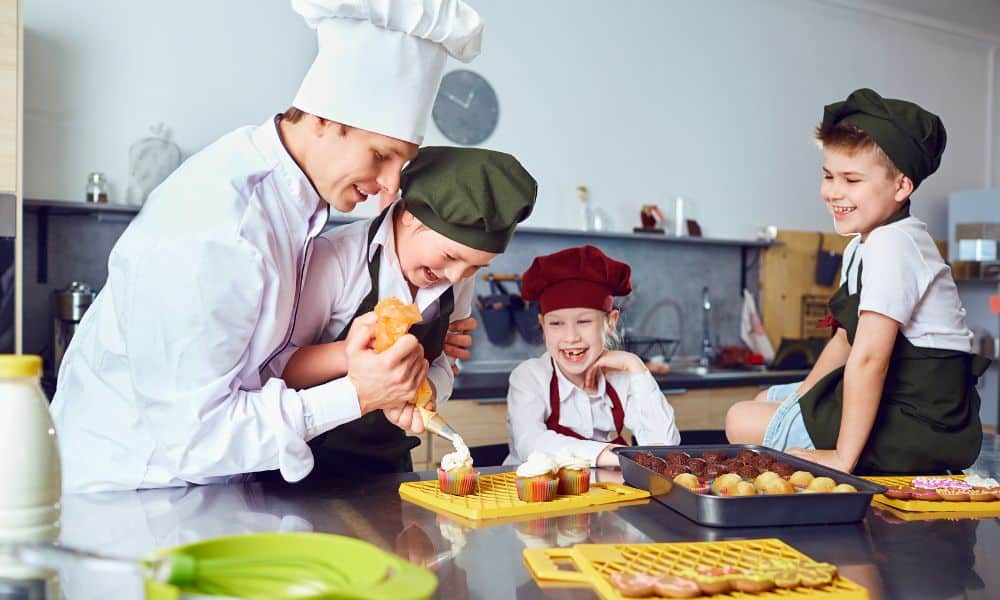
Building a cooking stand for a kid is a delightful project that can provide hours of creative fun and learning opportunities. Here’s a comprehensive guide to creating a safe, functional, and enjoyable cooking stand for your little chef.
1. Understand the Importance of a Kid’s Cooking Stand
Before diving into the construction, it’s essential to understand why a cooking stand is beneficial. It helps children develop fine motor skills, learn about measurements and fractions, and even boosts their confidence as they complete tasks. Moreover, it’s a fantastic way to spend quality time together.
2. Designing the Cooking Stand
When designing a cooking stand, consider the height of your child and adjust accordingly. The stand should be stable and robust, with a countertop height that allows the child to cook comfortably. Incorporate a lower shelf for storage and maybe an upper shelf for items they can’t yet reach. Safety rails are crucial to prevent falls.
3. Materials and Tools Needed
Choose materials that are durable and safe. Plywood or solid wood are great options for the structure. You’ll need screws, nails, a hammer, a saw, sandpaper, and paint. Remember to select non-toxic paint, as this is a project for kids.
4. Constructing the Base
Start by constructing a sturdy base. Cut the legs to the desired height and ensure they are all even to prevent wobbling. Attach the legs to a solid base board. Remember, stability is key for safety.
5. Building the Countertop
The countertop is where all the action happens. Make sure it’s spacious enough for the child to work on. Sand all edges and surfaces to prevent splinters. If you’re feeling adventurous, add sections or dividers on the countertop for different activities or ingredients.
6. Adding Features and Storage
Incorporate features like hooks for hanging utensils, a side rail for towels, or even a small sink if you’re ambitious. Storage is also crucial. Consider adding drawers or shelves underneath the countertop for pots, pans, and other cooking tools.
7. Safety First
Ensure all screws and nails are tightly fastened and that there are no sharp edges. Round off corners where possible. If the stand will be near actual cooking appliances, ensure it’s at a safe distance to prevent accidents.
8. Decorating the Cooking Stand
This is where you can get creative with your child. Choose bright, cheerful colors or themes that excite them. Add stickers, or let them paint part of the stand. Make it a fun and personalized space they’re excited to use.
9. Equipping the Cooking Stand
Equip the stand with kid-friendly utensils, bowls, and possibly toy foods for pretend play. For an authentic feel, include small, safe kitchen tools they can use while you supervise.
10. Supervision and Learning
Always supervise your child while they’re using the stand, especially if they are young or if the stand is used near actual cooking areas. Use this as an opportunity to teach them about kitchen safety, cooking basics, and healthy eating habits.
11. Enjoying the Cooking Stand
Once everything is set up, it’s time to enjoy the cooking stand. Plan simple recipes or pretend play scenarios. Encourage your child to explore and express their creativity through cooking.
12. Maintenance
Regularly check the stand for any loose screws, worn out parts or potential hazards. Keeping the stand well-maintained ensures safety and longevity.
Conclusion
Building a cooking stand for your kid is not just about creating a play area; it’s about fostering a love for cooking and learning new skills. With the right tools, materials, and a bit of creativity, you can construct a cooking stand that your child will cherish and enjoy using. So roll up your sleeves and start building the perfect culinary playground for your little one!


