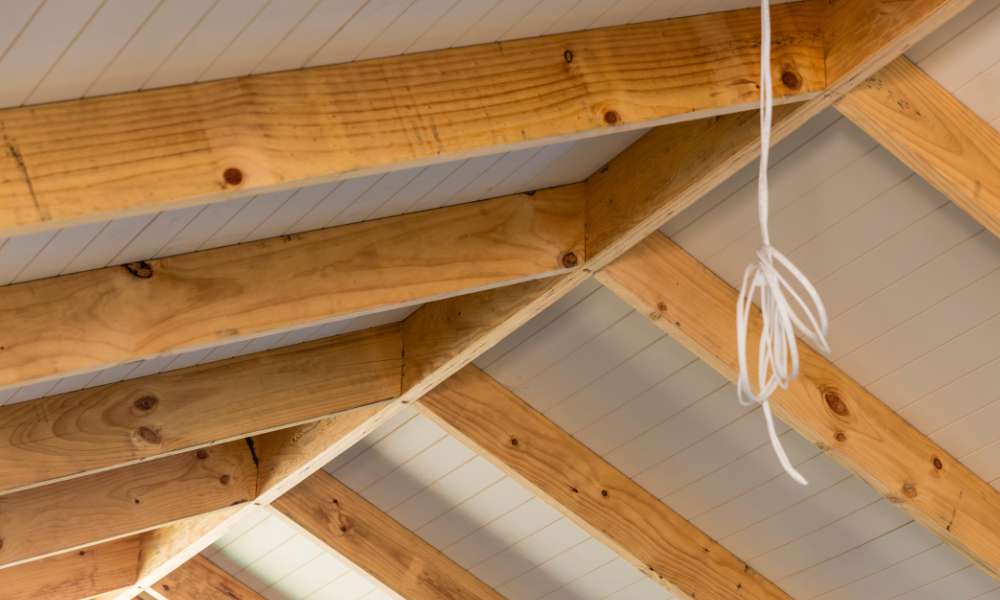
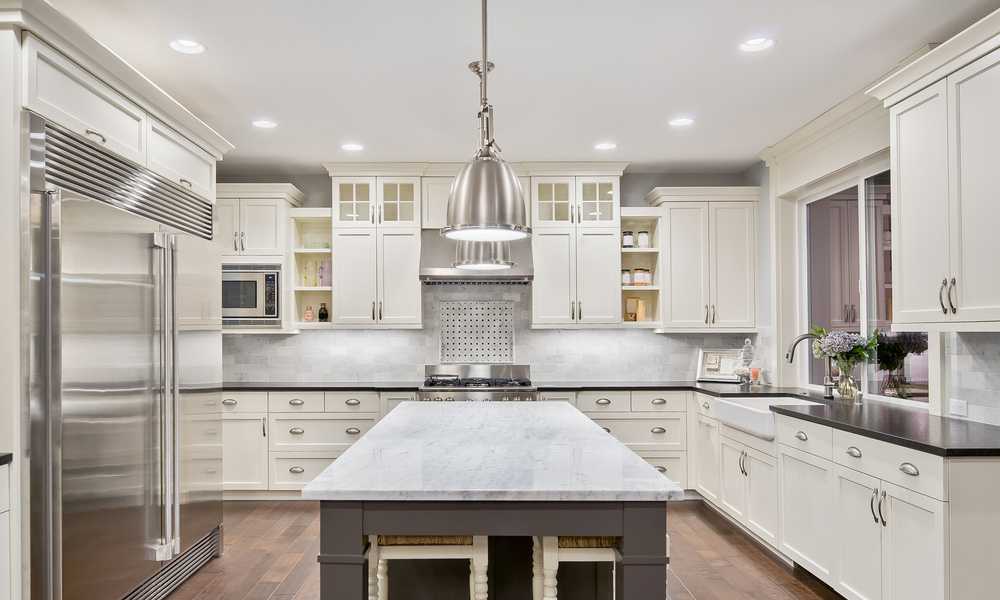
Transforming the ambiance of a room often begins from the top down, and one effective way to elevate the character of your living space is by painting wooden beams on the ceiling. Wooden ceiling beams can bring warmth and rustic charm to any interior, and the right paint treatment can further enhance their visual appeal. Whether you’re aiming For a classic, weathered look or a more modern and sleek finish, learning how to paint wooden beams on the ceiling is an essential skill For homeowners and DIY enthusiasts alike. In this guide, we’ll explore the techniques and tips to help you achieve a beautifully painted ceiling that complements your desired aesthetic.
What Type Of Paint Works Best For Beams?
Selecting the right type of paint is crucial when painting wooden beams on the ceiling. To ensure a lasting and visually pleasing finish, opt For a high-quality latex or acrylic paint. These paints are known For their durability, ease of application, and quick drying time. Moreover, they are low in volatile organic compounds, making them an environmentally friendly choice. For wooden beams, it’s advisable to choose a semi-gloss or satin finish, as they offer a good balance between sheen and a forgiving surface that can conceal minor imperfections, such as knots and wood grain.
Why Should I Seal The Painted Beams?
Sealing the paint beams is a crucial step in the process of painting wooden ceiling beams, as it offers several significant advantages. First and foremost, sealing the paint adds an extra layer of protection, helping to prevent chipping, flaking, and discoloration over time. Additionally, it seals the wood, reducing the risk of moisture damage and warping. Moreover, sealed beams are easier to clean, making maintenance a breeze. The sealant also enhances the paint’s durability and sheen, ensuring your ceiling beams remain a stunning focal point in your room For years to come.
Step By Step Ideas For Painting Wooden Beams On The Ceiling
Step 1. Gathering Your Materials
Before embarking on the project of painting your wooden ceiling beams, it’s essential to gather all the necessary paint. Start with a comprehensive list that includes paint brushes or rollers, painter’s tape, drop cloths to protect your floor and furnishings, sandpaper for surface preparation, a ladder or scaffolding For easy access, and high-quality latex or acrylic paint in your preferred color. Don’t forget to have a primer on hand, especially if your beams are bare wood or if you plan to paint over a dark color. It’s also advisable to wear protective gear, including safety goggles and a dust mask, to ensure your safety while working overhead. By taking the time to gather your materials in advance, you’ll streamline the painting process and achieve a more professional and satisfactory result.
Step 2. Preparing The Workspace

Preparing the workspace is an essential part of successfully painting wooden beams on the ceiling. Start by removing any furniture or items that could obstruct your access to the beams. Cover the remaining furniture and the floor with drop cloths to protect them from paint splatters and drips. Additionally, be sure to use painter’s tape to mask off any adjacent surfaces, such as walls and light fixtures, to avoid accidental paint transfer. Ensure the room is well-ventilated by opening windows or using fans to dissipate paint fumes. Taking these precautions will create a safe and clean environment For your project.
Step 3. Cleaning And Sanding The Beams

Properly cleaning and sanding it is crucial For achieving a smooth and even finish. Begin by dusting or vacuuming the beams to remove any loose dirt or debris. Then, use a damp cloth to wipe down the wood, removing any built-up grime or grease. Once the beams are clean and dry, carefully inspect them For any imperfections, such as knots or cracks. Use sandpaper to smooth out these imperfections and create a uniform surface For the paint to adhere to. Sand with the grain of the wood to maintain the natural texture. This step ensures that the paint will adhere properly and results in a more professional look.
Step 4. Choosing The Right Paint

Selecting the right paint is a critical decision in the process of painting wooden ceiling beams. When choosing the paint, consider the color that best suits your room’s aesthetic. High-quality latex or acrylic paints are typically the best choice, and they come in a wide range of colors and finishes to match your style. If your wooden beams are exposed, using a primer is advisable to enhance adhesion and ensure the true color of the paint comes through. The finish you choose, whether satin, semi-gloss, or glossy, will impact the final look of the beams, so take your time to decide on the sheen that best compliments your design vision. Keep in mind that two coats of paint are usually recommended For a more vibrant and long-lasting finish. By making informed choices in this step, you’ll set the stage For a successful and aesthetically pleasing transformation of your ceiling.
Step 5. Priming The Beams

Before applying the base coat, it’s essential to prime the wooden beams. Primer helps ensure better adhesion of the paint and creates a smooth, consistent surface. Using a high-quality primer, apply an even coat to the beams, making sure to reach all the nooks and crannies. Allow the primer to dry completely according to the manufacturer’s recommendations. This step is especially crucial if your beams are bare wood or if you’re changing the color significantly.
Step 6. Applying The Base Coat
With the primer dry and ready, it’s time to apply the base coat of paint. Using a high-quality paint brush or roller, start from one end of the beam and work your way to the other. Apply the paint evenly, following the grain of the wood. Be sure to cover the entire surface, making sure there are no drips or streaks. Depending on the paint’s coverage, you may need to apply a second coat after the first one dries. Allow each coat to dry thoroughly between applications, following the paint manufacturer’s recommendations. This step ensures that your beams have a solid and even base color.
Step 7. Creating A Faux Wood Finish
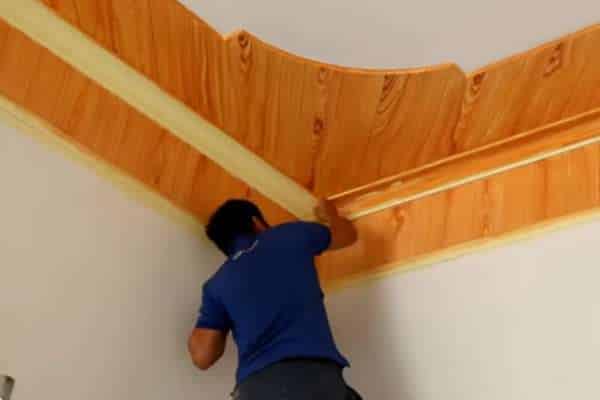
For those seeking to add character and depth to their wooden beams, consider creating a faux wood finish. This step involves using various painting techniques to mimic the look of natural wood grain. Start by choosing a darker shade of paint than your base coat to act as the wood grain. Once your base coat is dry, dip a dry brush or a wood graining tool into the darker paint and lightly drag it along the length of the beams in a controlled, linear fashion, following the grain pattern You desire. The goal is to create the appearance of natural wood grain, so keep the strokes consistent and not too uniform For a realistic effect. Allow this finish to dry thoroughly. You can experiment with different shades to achieve the wood grain effect that best matches your room’s decor. Applying a protective clear coat is recommended to seal and protect the finish, giving your painted wooden beams a truly authentic appearance.
Step 8. Adding Details And Accents
To enhance the aesthetic appeal of your painted wooden beams on the ceiling, consider adding details and accents. These can be decorative elements like faux iron brackets or decorative molding that you can paint in a contrasting or complementary color. These accents can create a unique and visually striking focal point in your room. Ensure that these details are securely attached and properly painted to match your overall design concept.
Step 9. Sealing And Protecting The Paint
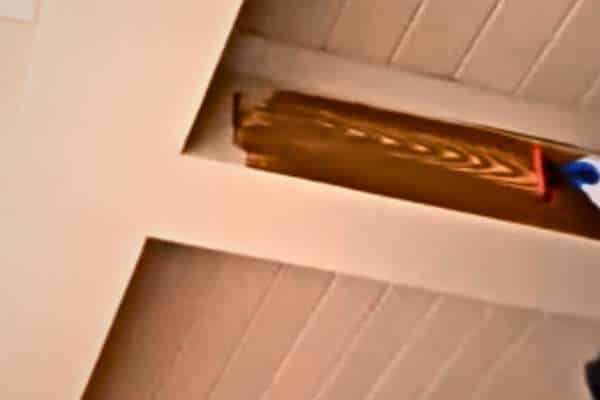
Once you’ve achieved the desired look For your wooden beams, it’s essential to seal and protect the paint to ensure its longevity. Apply a clear, water-based polyurethane or varnish to the painted surface. This protective layer will guard against wear and tear, moisture, and UV damage. Be sure to follow the manufacturer’s instructions For the specific product you choose, and allow adequate drying time between coats. Proper sealing and protection will preserve the beauty of your painted ceiling beams For years to come.
Tips For A Professional Finish
- Work methodically: Start painting from one end and move systematically to the other, keeping a wet edge to prevent visible seams.
- Use high-quality brushes and rollers: Quality tools make a significant difference in the final finish.
- Keep the workspace well-ventilated: Adequate ventilation helps with paint fumes and drying.
- Check For drips and streaks: Regularly inspect your work and correct any mistakes while the paint is still wet.
- Avoid overloading the brush or roller: Excess paint can lead to drips and an uneven finish.
- Maintain consistent lighting: Proper lighting helps you identify imperfections in your work.
- Plan For adequate drying time: Follow the manufacturer’s instructions For drying times between coats and before sealing.
Common Mistakes To Avoid
- Skipping surface preparation: Neglecting to clean and sand the beams can result in poor paint adhesion and an uneven finish.
- Inadequate ventilation: Poor ventilation can lead to a longer drying time, uneven drying, and a stronger odor from the paint.
- Rushing the process: Haste can lead to mistakes like drips, streaks, and missed spots. Take your time For a more professional outcome.
- Using the wrong paint: Choosing low-quality paint or the wrong finish can result in a less durable and less aesthetically pleasing finish.
- Neglecting to prime: Skipping the priming step may cause the paint to peel or chip prematurely, especially on bare wood or when changing colors significantly.
Maintenance And Care
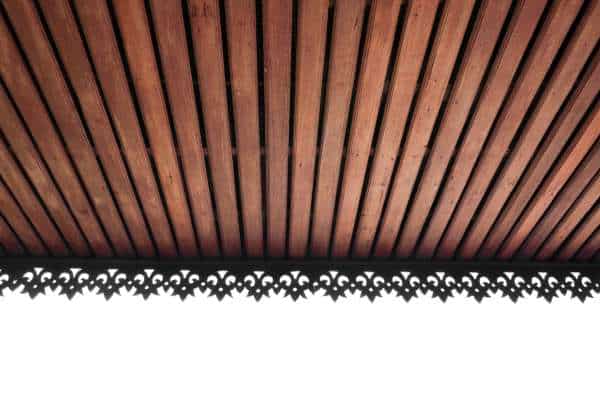
- Regular Cleaning: Dust and dirt can accumulate over time. Periodically dust or gently wipe down the beams with a soft, damp cloth to keep them looking fresh.
- Avoid Abrasive Cleaners: When cleaning, use mild, non-abrasive cleaners to prevent damage to the painted surface. Harsh cleaners can strip away paint or cause discoloration.
- Address Damage Promptly: If you notice chips, scratches, or other damage, address them promptly. Touch up the paint as needed to prevent further damage and maintain the appearance of it.
- Inspect for Water Damage: Regularly check for any signs of water leaks or moisture damage. Water can affect the paint and the wooden beams, leading to structural problems if left unattended.
- Reapply Sealant: Over time, the protective sealant can wear down. Consider reapplying it every few years to maintain protection and sheen, ensuring your painted beams remain in top condition.
Why Is Sanding The Beams Crucial Before Painting?
- Enhanced Adhesion: Sanding creates A slightly roughened surface, which allows the paint To adhere better. This improved adhesion ensures that the paint won’t peel, flake, or chip prematurely.
- Smooths Imperfections: Sanding helps eliminate small imperfections in the wood, such As knots, cracks, or bumps. This results in a more even and professional finish, preventing uneven paint application.
- Quality Finish: A properly sanded surface provides a smooth canvas For the paint, ensuring that the final result looks polished and appealing. It allows the paint to lay down evenly, enhancing the overall aesthetics.
- Contaminant Removal: Sanding removes any accumulated dirt, oils, or residues on the wood’s surface. These contaminants Can interfere with paint adhesion, So removing them Is crucial For a durable and attractive finish.
- Longevity: Properly sanded and painted beams are more likely to maintain their appearance and structural integrity over time, reducing the need For frequent repainting and ensuring your investment In the project endures.
Are There Options For Adding Decorative Details?
- Faux Iron Brackets: Attach decorative iron brackets to the beams to create An elegant and rustic appearance.
- Decorative Molding: Incorporate crown molding or other ornate trim around the beams to enhance their visual impact.
- Stencils: Use stencils to create intricate patterns or designs directly on the beams, adding a personal touch to your space.
- Hand-Painted Artwork: Consider painting intricate designs, murals, or artwork directly onto the beams For a custom and unique look.
- Stained Glass Panels: Install stained glass panels around or between the beams to infuse your ceiling with color and timeless charm.
- Exposed Lighting: Incorporate exposed lighting fixtures or chandeliers to draw attention to the beams and create a captivating ambiance.
Reed More: How To Clean Rough Wood Ceiling Beams
Conclusion
Painting wooden beams on The ceiling Is a transformative project that Can breathe new life into your living space. From selecting The right paint And preparing The beams to adding decorative details and protecting your work with sealant, each step Is crucial To achieving A professional And lasting finish. Avoid common mistakes, maintain your painted beams, And periodically reseal them to ensure they remain A striking feature In your home For years To come. With the right techniques and A creative touch, your painted it Can become A centerpiece that adds character And charm To your interior design.
