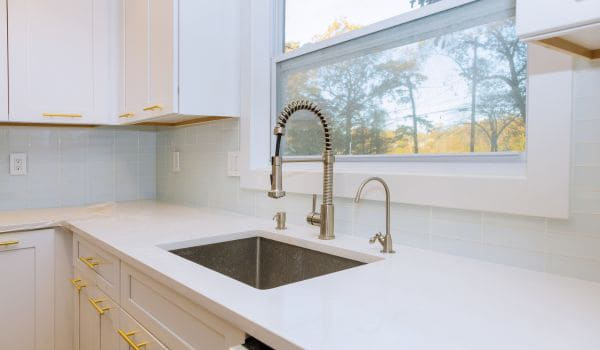
Transforming your kitchen is a breeze with our comprehensive guide on how to replace a kitchen faucet. Bid farewell to outdated fixtures and welcome a sleek, functional upgrade to your culinary space. Begin by shutting off the water supply, disconnecting the old faucet, and cleaning the area.
With detailed step-by-step instructions, we guide you through the installation of your new faucet, ensuring a smooth and efficient process. From securing the mounting hardware to connecting water lines, our instructions cover every crucial aspect. Enjoy the satisfaction of a DIY project that not only enhances aesthetics but also improves functionality. Make a statement in your kitchen with a modern faucet replacement, elevating the heart of your home to new levels of style and convenience.
Gather the Necessary Tools and Materials
List of tools required:
Before embarking on the task of replacing a kitchen, it is essential to have the right tools on hand. This ensures a smooth and efficient process. The necessary tools include:
Adjustable wrenches
- Plumber’s tape (Teflon tape)
- Plumber’s putty or silicone caulk
- Bucket or towels for water containment
- Screwdrivers (both flathead and Phillips)
- Plunger
- Basin wrench
- Pipe cutter or tubing cutter (if necessary)
- Tarp or drop cloth to protect the cabinet floor
- Pliers
Required materials for the replacement
In addition to the tools, gathering the appropriate materials is equally crucial for a successful replacement. Ensure you have the following items:
- New kitchen faucet
- Replacement supply lines (if not included with the faucet)
- Plumber’s tape
- Plumber’s putty or silicone caulk
- Teflon tape
- Towels for cleanup
- Mineral spirits (for removing old caulk or adhesive)
- Replacement mounting hardware (if not included with the faucet)
- Optional: Thread seal tape
Turn Off the Water Supply
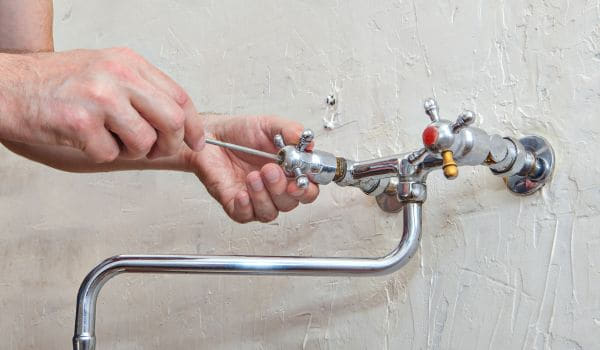
Locate and shut off the water valves under the sink
Begin by locating the shut-off valves beneath the sink. These are typically found on the water supply lines leading to the. Turn both valves clockwise to shut off the water supply. If there are no individual shut-off valves, consider shutting off the main water supply to the house.
Release any pressure by turning on the faucet
To prevent a sudden release of water pressure, turn on the after shutting off the water supply. This helps drain any residual water in the lines and reduces the likelihood of water splashing when disconnecting the old.
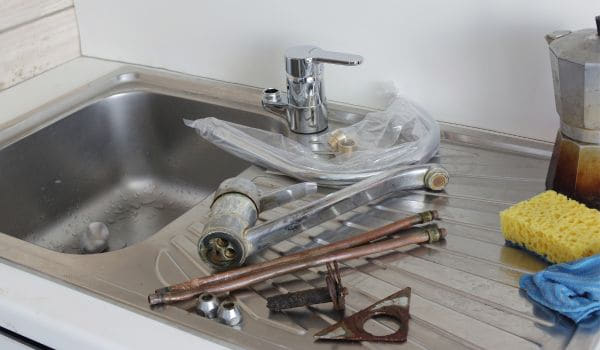
Remove the Old Faucet

Disconnect the supply lines
Using adjustable wrenches, carefully loosen and disconnect the nuts securing the supply lines to the hot and cold water valves. Place a bucket or towels under the connections to catch any water that may drain out. Use adjustable wrenches to loosen the nuts: Rotate the nuts counterclockwise to detach the supply lines from the valves.
Have a bucket or towel ready to catch any water
Expect some water to drain out when disconnecting the supply lines. Having a container or towels in place minimizes mess.
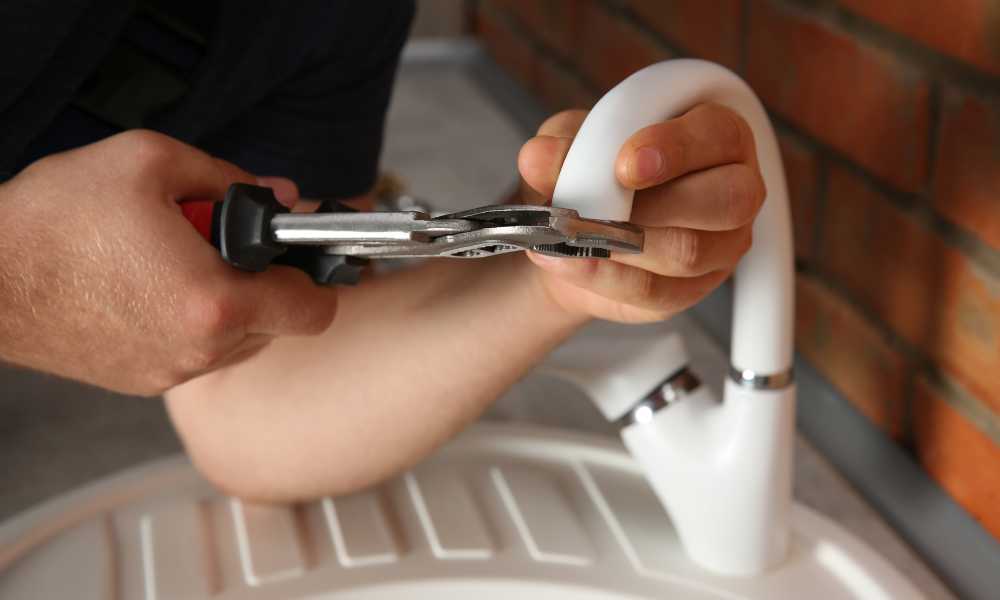
Disconnect the faucet from the sink
Before removing the old, it is necessary to detach it from the sink.
Remove any mounting hardware
Depending on the model, there may be nuts, bolts, or screws securing it to the sink. Use appropriate tools to remove these.
Lift the old faucet out
Once the mounting hardware is removed, carefully lift the old out of the sink. Be cautious not to damage the surrounding area. This step marks the successful removal of the old, paving the way for the installation of a new one.
Clean the Area
Wipe down the sink surface
After successfully removing the old, it is essential to prepare the sink area for the installation of the new fixture. Begin by wiping down the sink surface with a clean, damp cloth. This removes any lingering debris, water spots, or residue from the previous, ensuring a clean and smooth base for the new installation.
Remove any debris or old caulk
Inspect the area around the holes for any remaining debris or old caulk. Use a putty knife or a similar tool to gently scrape away any caulk or adhesive from the previous installation. This step is crucial for achieving a tight and secure seal with the new.
Cleaning the area not only enhances the aesthetics but also promotes better adhesion of the new to the sink, ensuring a more watertight seal.
Install the New Faucet

Position the new faucet in place
Carefully position the new into the pre-drilled holes in the sink. Align them with precision to ensure a proper fit and a visually appealing result. Take note of any additional features or accessories, such as a side sprayer or soap dispenser, and position them accordingly if applicable.
Attach the new mounting hardware
Secure the new in place by attaching the provided mounting hardware. This may include nuts, bolts, or screws, depending on the model. Follow the manufacturer’s instructions for the specific method of attachment, ensuring a snug fit that prevents any wobbling or instability.
Connect the supply lines
Use Teflon tape on threads for a secure seal
Before connecting the supply lines, wrap the threads with the plumber’s tape (Teflon tape). This provides an additional layer of sealant to prevent leaks. Securely attach the supply lines to the hot and cold water valves, ensuring they are tightened with adjustable wrenches.
Secure the faucet in place
Tighten nuts or mounting hardware
Using the appropriate tools, tighten the nuts or mounting hardware securing the to the sink. This step ensures stability and prevents any movement or shifting once the is in use.
Double-check all connections for tightness
Before declaring the installation complete, double-check all connections – both for the mounting hardware and the supply lines. Ensure that everything is securely tightened to avoid potential leaks in the future.
By following these installation steps meticulously, you not only ensure the proper functioning of the new but also contribute to the longevity and reliability of your kitchen plumbing. The clean and well-secured installation enhances the overall appearance of the sink area, creating a polished and functional kitchen space.
Test the Faucet
Turn on the water supply
Once the new is securely in place, turn on the water supply by gradually reopening the shut-off valves beneath the sink. This step allows water to flow into the newly installed and prepares it for testing.
Check for leaks
After turning on the water supply, carefully inspect all connections, joints, and areas around them for any signs of leaks. Pay close attention to the base of the, the supply line connections, and any threaded areas. Address any leaks immediately by tightening connections as needed.
Test hot and cold water functions
Test both the hot and cold water functions by turning the handles or levers to their respective positions. Verify that the water temperature corresponds to the handle settings and that there are no irregularities in water flow or pressure. This step ensures the proper functioning of the mixing and temperature control features.
Verify proper water flow
Check for proper water flow from both the hot and cold water settings. Ensure that the flow is consistent and adequate for your needs. If there are any issues with water flow, recheck connections and consult the installation manual for troubleshooting guidance.
Secure the Faucet
Apply plumber’s putty or silicone caulk around the base
To enhance the seal and prevent water from seeping beneath the, apply a thin bead of the plumber’s putty or silicone caulk around the base where the meets the sink. Ensure even coverage to create a watertight seal.
Wipe away excess caulk
Using a damp cloth or paper towel, carefully wipe away any excess plumber’s putty or silicone caulk from the base and surrounding areas. This step not only improves the appearance but also prevents any unwanted residues.
Let it dry according to product instructions
Allow the applied plumber’s putty or silicone caulk to dry according to the product instructions. Drying times may vary, so it’s essential to follow the recommended waiting period before resuming regular use of the sink. This final step ensures that the is securely sealed to the sink surface, providing long-lasting stability and preventing water damage.
By diligently testing the and securing it with an appropriate sealant, you contribute to the overall success and durability of the installation, ensuring a reliable and leak-free kitchen.
Clean Up
Dispose of the old faucet and packaging
Properly dispose of the old by placing it in the appropriate recycling or waste container. Dispose of any packaging materials in an eco-friendly manner, adhering to local recycling guidelines. This ensures responsible waste management and contributes to environmental sustainability.
Clean any tools used during the installation
Thoroughly clean all tools used during the replacement process. Wipe them down with a damp cloth to remove any residue or debris. Proper tool maintenance prolongs their lifespan and ensures they remain in good condition for future use.
Return the area under the sink to its original condition
Restore the space under the sink to its original state by removing any protective coverings, drop cloths, or towels used during the installation. Ensure that the cabinet floor is dry and free of water or debris. Returning the area to its original condition adds a finishing touch to the installation process.
Final Inspection
Check all connections and fittings one more time
Perform a final inspection of all connections and fittings. Double-check the tightness of nuts, bolts, and supply line connections. Ensure that there are no loose components that could compromise the integrity of the installation.
Ensure there are no leaks
Verify once again that there are no leaks around the supply lines, or any other connection points. Address any issues promptly to prevent water damage and maintain the longevity of the installation.
Confirm that the faucet functions properly
Test the one last time to confirm its proper functionality. Check both hot and cold water settings, and ensure that the water flow is consistent and as expected. Confirm that the handles or levers operate smoothly without any resistance or irregularities.
Conclusion
Replacing a kitchen involves a series of systematic steps aimed at enhancing the functionality and aesthetics of the kitchen space. From gathering the necessary tools and materials to conducting thorough testing and inspections, each step contributes to a successful installation. Regular maintenance, proper disposal practices, and attention to detail during clean-up underscore a commitment to responsible home improvement practices. By following these guidelines, you not only achieve a well-installed and reliable kitchen but also contribute to the overall efficiency and cleanliness of your kitchen environment.