Welcome to our guide on how to fix cabinet door hinges. If you’ve been struggling with a cabinet door that won’t close properly or is hanging off its connectors, you’ve come to the right place. In this article, we will walk you through step-by-step instructions for resolving common issues with council door hinges. Whether your hinge is loose, squeaky, or misaligned, our tips and techniques will help you get your council doors functioning smoothly again in no time. So let’s dive in and learn how to fix those pesky cabinet gate joints!
How Often Should I Check My Hinges?
Regular maintenance of your cabinet door hinges is crucial to ensure they function properly and prevent any potential issues. It is recommended to check your connectors at least once every six months, as well as after any major changes in temperature or humidity. By inspecting the joints regularly, you can identify any signs of wear, looseness, or misalignment early on and address them promptly before they worsen.
Understanding Cabinet Door Hinges
Before diving into fixing cabinet door joints, it’s important to have a basic understanding of how they work. Cabinet gate connectors are the mechanical components that connect the gate to the council frame, allowing for smooth opening and closing. They serve as pivot points for the doors and provide stability and support. There are various types of it available, each with its own unique features and functions.
Types Of Cabinet Door Hinges
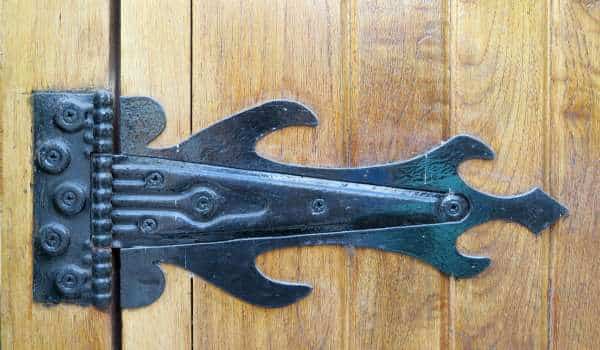
1. Butt Hinges

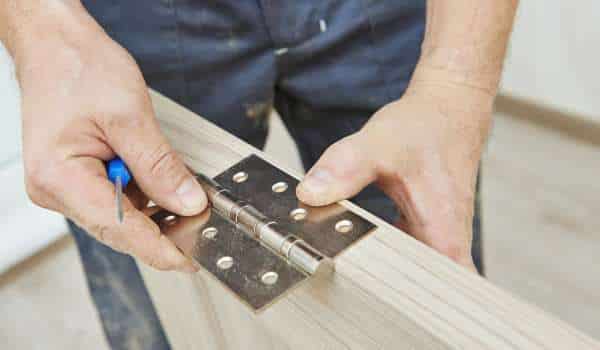
Butt hinges are one of the most common types used in cabinetry. They are composed of two plates—one attached to the edge of the cabinet frame and the other attached to the back edge of the door. Butt joints provide durability and stability, allowing for a secure swing motion.
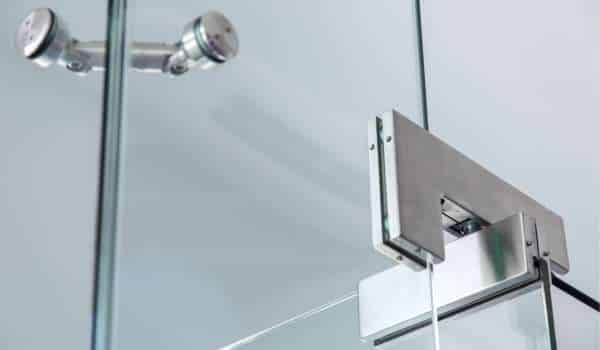
2. Euro Hinges

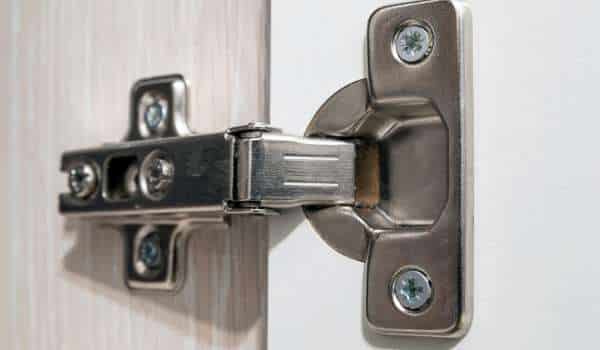
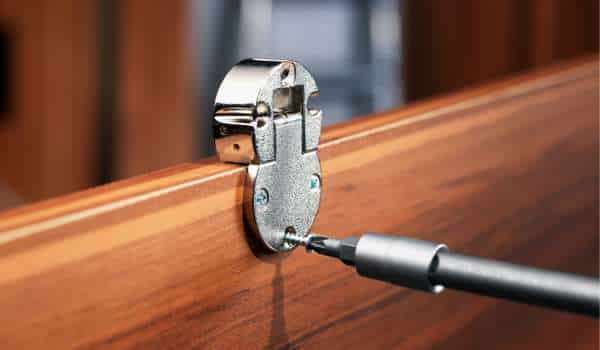
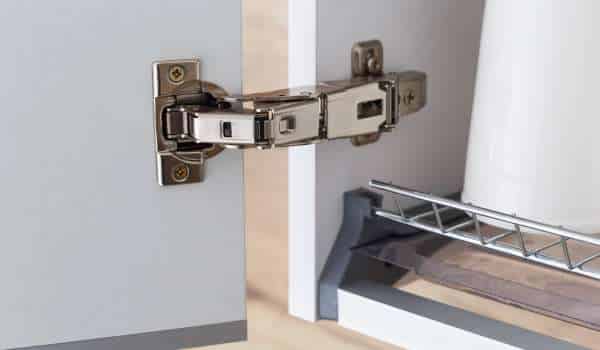
Also known as concealed joints or cup hinges, euro connectors offer a sleek and modern look for cabinets without visible hinge hardware from the outside. They are hidden within a drilled hole in both the door and cabinet frame, providing a clean aesthetic appearance.
3. Pivot Hinges
Pivot hinges differ from butt connectors as they allow doors to rotate in either direction rather than swinging left or right. They usually consist of a floor bracket attached to the bottom corner of the gate along with a ceiling bracket mounted inside or above the cabinet.
4. Overlay Hinges
Overlay hinge are commonly used when you want your doors to partially overlap with the cabinet frame on all sides. These types of joints come in different sizes depending on the desired overlay. They can be adjusted to control how far the gate extends beyond the council frame.
5. Continuous Hinges

Also known as piano joints, continuous hinge are long, thin strips that extend along the entire length of a gate and cabinet frame. They provide consistent support and strength, commonly used for larger or heavier doors, such as those in commercial settings.
Identifying Common Issues With Hinges
1. Loose Hinge
One of the most common issues with cabinet door connectors is looseness. Over time, the screws that hold the hinges in place may become loose, causing the gate to hang improperly or swing open on its own. To fix this issue, simply tighten the screws using a screwdriver until they are snug. If the holes are stripped or damaged, you can use wooden dowels or toothpicks coated with wood glue to fill the holes and provide a stronger anchor for the screws.
2. Squeaky Hinge

Squeaking connectors can be quite annoying and disrupt the peaceful atmosphere in your kitchen or bathroom. The most effective way to address this issue is by lubricating the hinges. Start by cleaning any dirt or debris from the hinge surfaces using a cloth or brush. Then, apply a small amount of lubricant such as WD-40, silicone spray, or graphite powder to the hinge pins and moving parts. Open and close the door several times to distribute the lubricant evenly.
3. Misaligned Hinge
If you notice that your cabinet doors are not closing properly or sitting flush with the frame, misalignment of connectors might be the culprit. This can occur due to various reasons such as settling of cabinets over time or sudden impacts causing shifting. To realign misaligned hinges, start by loosening the screws that hold them in place. Gently adjust the position of the door until it sits correctly against the frame, and then tighten the screws back in place.
Tools And Materials Needed
- Screwdriver
- Drill
- Wood Glue
- Sandpaper
- Lubricant
- Measuring Tape
Step-By-Step Guide To Fixing Cabinet Door Hinges
Step 1: Assessing The Issue

The first step in fixing cabinet door connectors is to assess the issue. Determine whether the hinges are loose, squeaky, or misaligned. This will help you determine the appropriate course of action to fix the problem.
Step 2: Removing The Cabinet Door

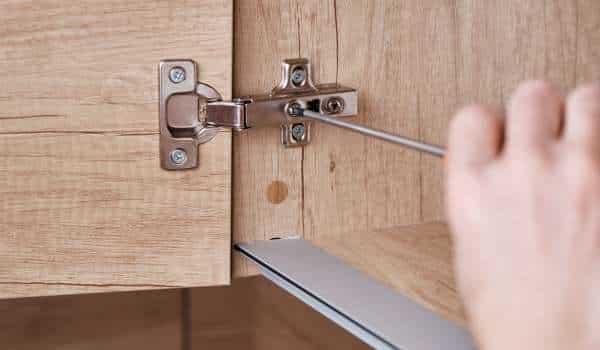
To properly fix the hinges, it’s often necessary to remove the cabinet gate. Start by opening the door fully and locating the hinge pins. Use a hammer and a screwdriver or an allen wrench (depending on the type of hinge) to tap out the pins from each hinge. Once you’ve removed all the pins, carefully lift off the gate and set it aside in a safe place.
Step 3: Inspecting The Hinge

With the door removed, thoroughly inspect each hinge for any signs of damage or wear. Check for loose screws, cracks in the hinge itself, or signs of rust or corrosion. If any parts of the hinge are damaged beyond repair, it may be necessary to replace them entirely.
Step 4: Adjusting The Hinge

If you determine that the hinges are simply loose or misaligned, you can adjust them to improve their functionality. To tighten loose joints, use a screwdriver to tighten up any loose screws on both sides of each hinge. Make sure not to overtighten as this can strip or damage the screw holes. For misaligned connectors, carefully loosen all screws holding them in place on both sides of each hinge with a screwdriver. Gently adjust and realign them until they sit flush against both the cabinet frame and door. Once aligned correctly, tighten all screws to secure them in place.
Step 5: Reattaching The Cabinet Door
After adjusting any issues with the hinges, it’s time to reattach the cabinet door. Begin by inserting the hinge pins back into their respective holes on each hinge. Ensure that they are fully inserted and secure.
Step 6: Testing The Hinge
Once the cabinet gate is reattached, test the hinge to ensure it is functioning properly. Open and close the door multiple times to check for smooth movement and stability. If any issues persist, repeat the previous steps or consider seeking a professional’s help.
Can Misaligned Hinges Be Realigned Easily?
Misaligned hinges can often be realigned relatively easily with the right tools and techniques. By loosening the screws holding the hinge in place, you can adjust its position to ensure that it sits flush against both the cabinet frame and door. Carefully aligning the joints and tightening the screws will help restore the proper functionality of the cabinet gate. However, if the misalignment is severe or due to underlying structural issues, it may require more extensive repairs or professional assistance to fix the problem.
Conclusion
Fixing cabinet door hinges is a relatively straightforward process that can save you time and money on replacing entire cabinets. Regularly checking your joints for any issues such as looseness, squeaking, or misalignment will help you address them promptly and prevent further damage. By following a step-by-step guide like the one provided above, you can confidently fix most hinge-related problems yourself. Remember to assess the issue, remove the council gate if necessary, inspect and adjust the connectors as needed, reattach the gate securely, and thoroughly test its functionality. With some basic tools and a little patience, you can have your cabinet doors working smoothly in no time.