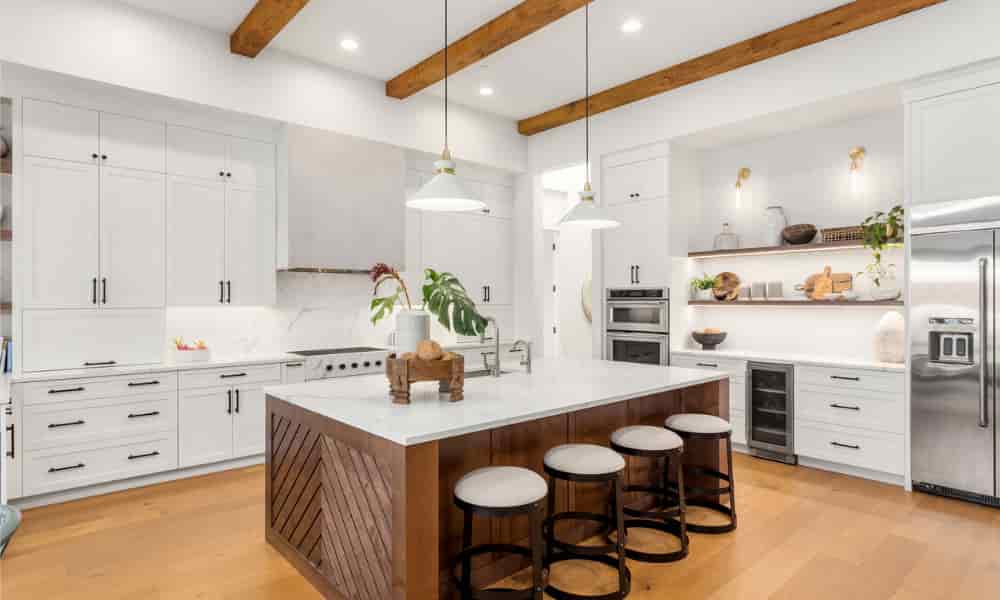
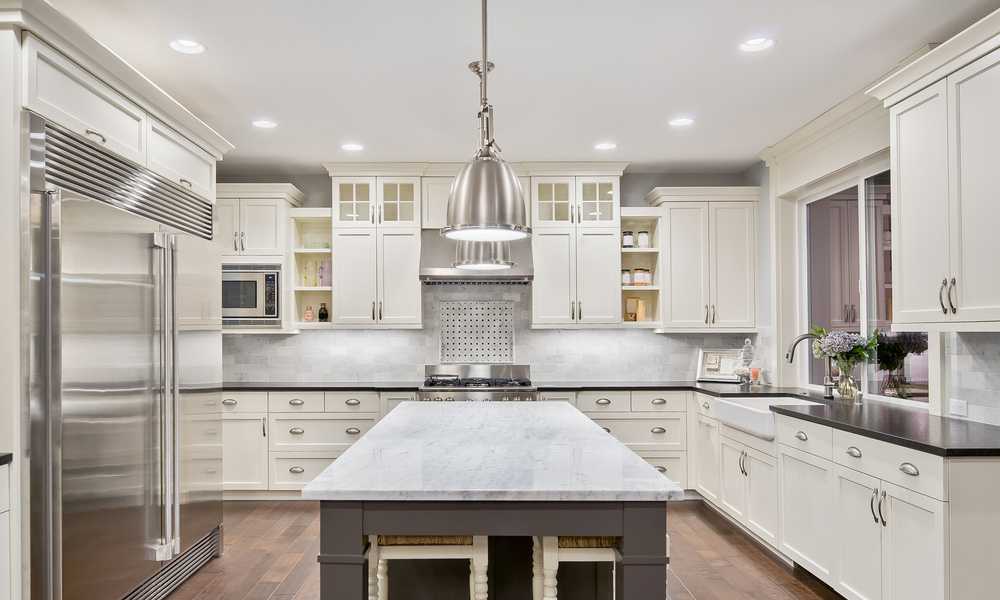
Are you looking to add both functionality and style to your kitchen? A kitchen bench can be the perfect addition to your space, providing extra seating, storage, and a beautiful focal point. Building a kitchen seat may seem like a daunting task, but with the right tools and some basic carpentry skills, you can easily create a custom bench that fits perfectly in your kitchen. In this article, we will guide you through the step-by-step process of build kitchen bench from scratch. Whether you are an experienced DIY enthusiast or just starting with woodworking projects, our detailed instructions and helpful tips will ensure that you successfully build a stunning and functional seat for your kitchen.
How do I build a kitchen bench?

To build a kitchen bench, start by measuring the space and determining the desired dimensions. Choose a sturdy and suitable material like wood or stone for the countertop. Cut and assemble the base using lumber and screws, ensuring it’s level and stable. Attach the countertop securely to the base, and finish by sanding any rough edges and applying a protective sealant to enhance durability. Optional features like drawers or shelves can be added for extra functionality. Always prioritize safety and precision during the construction process.
Materials needed for kitchen bench?

To construct a kitchen bench, you will require lumber or plywood for the base and legs, screws or nails for assembling the components, a countertop material like wood, stone, or laminate, sandpaper to smooth rough edges, wood glue for additional strength if desired, a protective sealant or finish to enhance durability, and essential tools like a measuring tape and level to ensure precise construction.
Properly finish & seal the wood?

To properly finish and seal the wood, begin by sanding the surface to create a smooth and even texture. Next, apply a wood stain or paint to achieve the desired color and appearance, allowing it to dry completely. Afterward, coat the wood with clear polyurethane, varnish, or lacquer to seal and protect it from moisture, stains, and wear. Apply multiple thin coats, sanding lightly between each layer, for a professional and long-lasting finish.
Planning and Preparation
1. Determine the bench dimensions and design
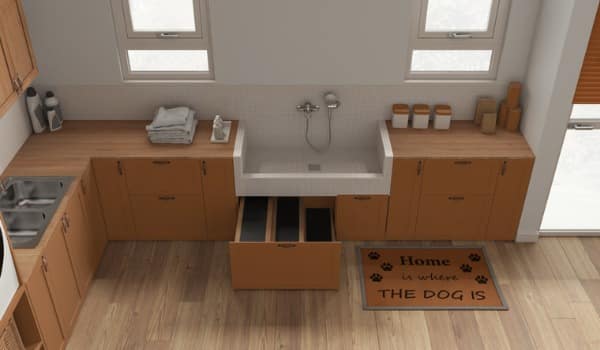
Determine the bench’s dimensions and design. Consider factors such as the number of people it should accommodate, the desired height, and any additional features like storage or an extended overhang for seating. Sketch out your design to visualize the final product and make any necessary adjustments.
2. Select suitable wood or materials
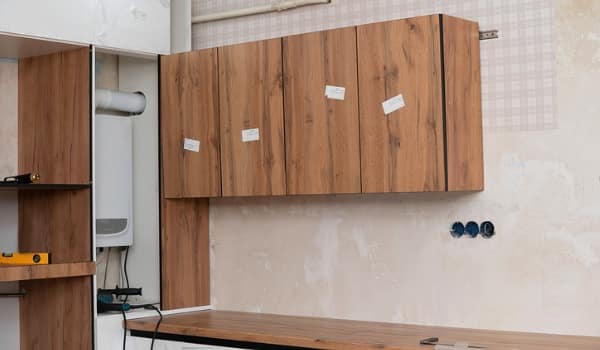
Selecting suitable wood or materials is crucial for the bench’s durability and appearance. Choose high-quality lumber or plywood for the base and legs to provide stability. For the countertop, consider options such as natural wood, stone, or laminate, based on your preferences and kitchen style.
3. Gather the necessary tools
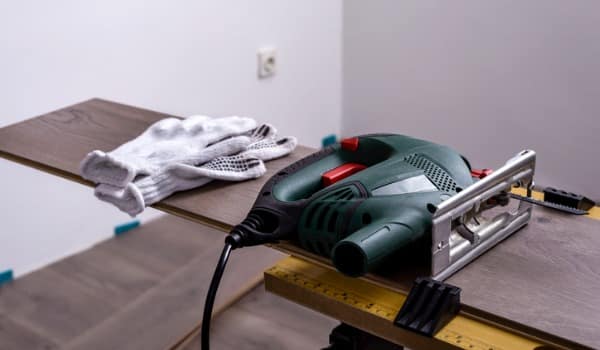
Before starting the construction, gather all the necessary tools and equipment. This typically includes a measuring tape, saw, drill, screws or nails, sandpaper, and wood glue if needed for extra reinforcement. Having all the tools ready will streamline the building process and ensure a successful and well-crafted kitchen bench that enhances your kitchen’s functionality and aesthetics.
Building the Base
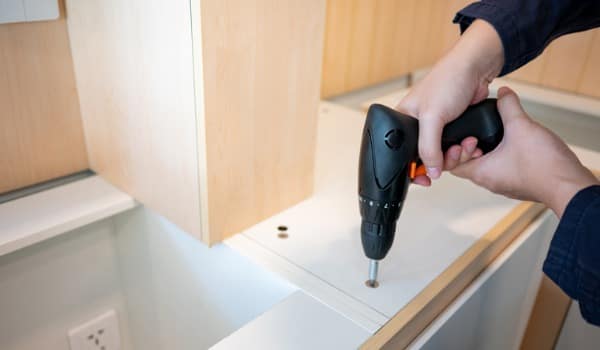
Cut the wood for the bench legs and supports
Begin by measuring and marking the lumber according to your desired bench height and dimensions. Use a miter saw or circular saw to cut the pieces precisely, ensuring straight edges and accurate lengths.
Assemble the base frame
Lay out the cut wood pieces on a flat surface to create the base frame. Position the legs vertically and attach the horizontal supports between them, forming a rectangular or square frame. Use a carpenter’s square and level to ensure the frame is perfectly square and level.
Secure joints with screws or nails
To reinforce the base, pre-drill pilot holes to prevent the wood from splitting. Apply wood glue to the joints for added strength and then secure the pieces together using screws or nails. Use appropriate fasteners based on the thickness and type of wood you are working with. Be careful not to overtighten the screws or nails to avoid damaging the wood. Check for sturdiness and make any adjustments as needed.
Adding the Seat
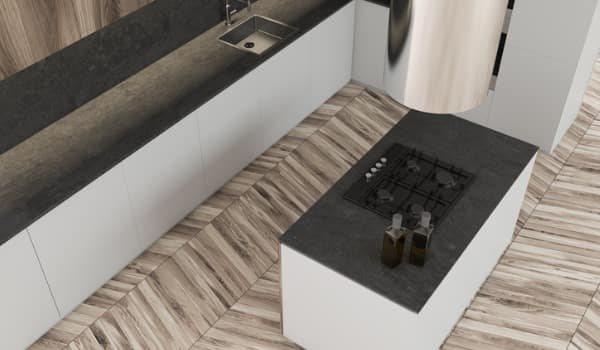
Cut and prepare the wood for the seat
Measure and cut the wood for the seat according to the dimensions of the base frame. Ensure the seat’s length and width fit perfectly within the frame. Sand the edges and surface of the seat to create a smooth and even finish.
Attach the seat to the base securely
Position the seat on top of the base frame, ensuring it is centered and aligned properly. To secure the seat to the base, use screws or nails from underneath the base frame, going up into the seat. Alternatively, you can use brackets or corner braces to reinforce the connection between the seat and the base. Make sure the seat is firmly attached to the base to prevent wobbling or instability.
Consider adding a storage option
If you desire additional storage in your kitchen bench, you can incorporate drawers, shelves, or a hinged top. To add drawers, construct drawer boxes and glides that fit within the base frame. For shelves, cut and install additional pieces of lumber within the base frame. If you prefer a hinged top, create a lid using appropriate hardware to allow easy access to the storage area beneath the seat.
Finishing Touches

Sand the bench for a smooth surface
After assembling the bench, use sandpaper to smooth out any rough edges, uneven surfaces, or imperfections on the wood. Sanding will create a polished and comfortable surface for users, preventing splinters and enhancing the bench’s overall appearance.
Apply wood stain or paint
If you prefer a specific color or want to protect the wood, consider applying wood stain or paint. Stains enhance the natural beauty of the wood, while paint allows you to customize the bench’s look to match your kitchen’s style. Ensure the wood is clean and dry before applying the stain or paint, and follow the manufacturer’s instructions for the best results.
Add cushions or upholstery for comfort
To increase the comfort of the kitchen bench, you can add cushions or upholstery to the seat and backrest. Choose materials that are easy to clean and maintain, such as stain-resistant fabrics or leather. Secure the cushions or upholstery properly to prevent slipping or shifting during use.
Installation
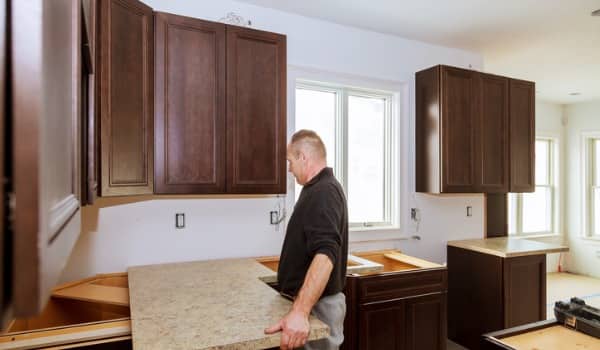
Move the completed bench to the kitchen area
Carefully transport the fully assembled kitchen bench to its designated location in the kitchen. Enlist the help of others if the seat is cumbersome to ensure safe and smooth movement.
Position and level the bench
Place the bench in its desired position, ensuring it aligns with the kitchen’s layout and complements the overall design. Use a level to check for evenness and adjust the bench’s position as needed to achieve perfect alignment.
Secure the bench to the floor or wall
Depending on the bench’s design and intended use, you may need to secure it to the floor or wall for additional stability. Use appropriate brackets, anchors, or screws to fasten the bench securely to prevent any movement or tipping during use.
Final Checks

Inspect the bench for any loose parts
Before using the kitchen bench, carefully inspect all joints, screws, and connections to ensure everything is securely fastened. Check for any signs of looseness or wobbling. Tighten any screws or fasteners that may have become loose during transportation or installation.
Test the stability and comfort
Sit on the bench and test its stability. Gently rock back and forth to check for any excessive movement or instability. Assess the comfort of the seat and backrest, making sure the cushions (if applicable) are firmly in place and provide adequate support.
Make any necessary adjustments
If you find any issues during the inspection or testing, make the necessary adjustments to improve stability and comfort. This may include tightening screws, adding additional support, or readjusting the position of the bench to ensure it sits level and secure.
Ensure the bench is sturdy & durable
To ensure the kitchen bench is sturdy and durable, focus on using high-quality materials like strong lumber for the base and legs, and durable and well-finished countertop material. Pay careful attention to the construction, ensuring secure joints with screws or nails and reinforcing critical areas with wood glue if necessary. Check for proper leveling and stability during installation, securing the bench to the floor or wall if needed. Regularly inspect and maintain the seat, tightening any loose screws, and addressing wear and tear promptly. By following these steps and building with precision, the kitchen seat will remain stable and long-lasting, withstanding the rigors of daily use in the kitchen.
The benefit of a kitchen bench
Kitchen benches offer various benefits that make it a valuable addition to any kitchen. Firstly, it provides practical seating, creating a comfortable and versatile space for family members and guests to gather, eat, or socialize while meals are prepared. It also maximizes the use of available space, serving as a multifunctional area for dining, homework, or even extra food preparation space during parties or gatherings. Additionally, a kitchen bench can incorporate storage options like drawers or shelves, helping to keep the kitchen organized and clutter-free. Moreover, the bench can enhance the kitchen’s aesthetics, adding a touch of style and warmth, and becoming a focal point for the entire space. Overall, the kitchen seat combines functionality, flexibility, and aesthetics, making it a valuable asset that contributes to a welcoming and efficient kitchen environment.
Conclusion
Building kitchen benches can be a fun and rewarding project that adds both functionality and style to your home. By following the steps outlined in this article, you can create a custom bench that perfectly fits your space and meets your needs. Remember to carefully select the materials and tools you will need, take accurate measurements, and follow proper safety precautions throughout the construction process. With a little time and effort, you can have a beautiful kitchen seat that will be enjoyed by your family and friends for years to come. So why wait? Start planning your project today and get ready to enjoy the benefits of having a stylish and functional kitchen bench in your home.
