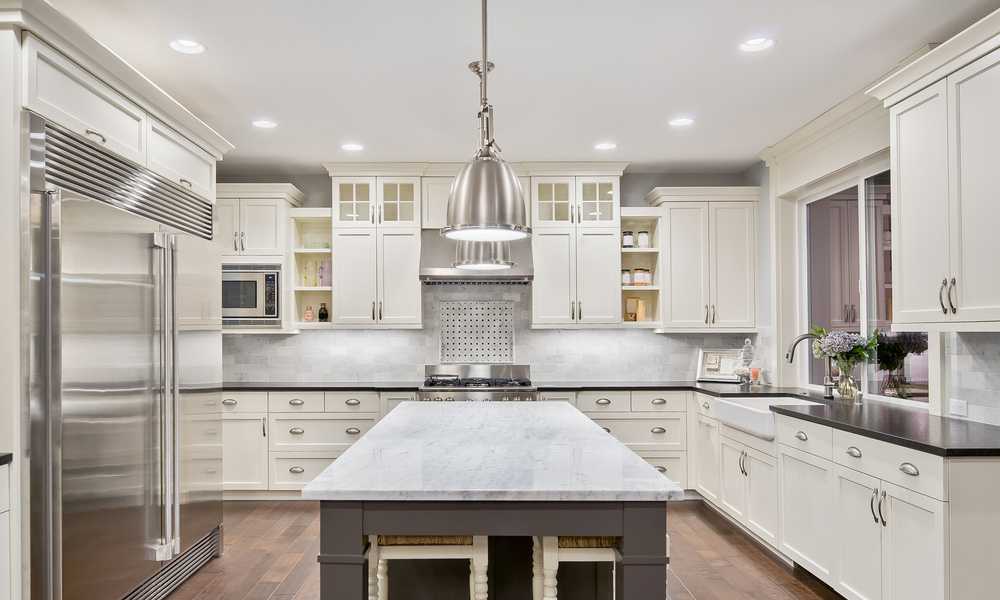
In the pursuit of transforming the aesthetic appeal of kitchen cabinets, choosing a sleek black finish can be a striking and modern choice. However, achieving a professional and durable result requires meticulous preparation. The importance of thorough preparation cannot be overstated, as it lays the foundation for a successful paint job. Properly prepared surfaces not only ensure better adhesion of the black paint but also contribute to the longevity and quality of the final finish. This introductory phase sets the stage for a detailed exploration of the essential steps involved in painting kitchen cabinets black, emphasizing the significance of meticulous preparation in achieving a polished and long-lasting outcome.
Materials and Tools

List of Materials Needed
Sandpaper (Various Grits): Sandpaper is a fundamental tool for preparing cabinet surfaces. Different grits serve distinct purposes—coarser grits (e.g., 80 or 120) remove old finishes and imperfections, while finer grits (e.g., 220) smooth the wood for optimal paint adhesion.
Tack Cloth
Tack cloth is a sticky fabric that effectively removes dust and particles left after sanding. Its tackiness helps ensure a clean and smooth surface for painting, preventing debris from interfering with the paint application.
Primer
Primer is a crucial preparatory layer that enhances adhesion, promotes durability, and provides a consistent base for the black paint. It also helps seal the wood, preventing stains and ensuring a uniform finish.
Black Paint
The choice of black paint is central to achieving the desired aesthetic. It is essential to select a high-quality paint specifically designed for cabinets, offering durability, easy cleaning, and resistance to wear and tear.
Paintbrushes or Rollers
The application tools, whether brushes or rollers, play a key role in determining the texture of the painted surface. Brushes are ideal for intricate details, while rollers cover larger areas more quickly. High-quality brushes and rollers contribute to a smoother finish.
Painter’s Tape
Painter’s tape is indispensable for protecting areas you don’t want to paint, such as hinges or adjacent walls. It ensures clean lines and prevents paint from bleeding onto undesired surfaces.
Drop Cloths or Plastic Sheets
These protective materials shield the surrounding space from paint splatters and drips. They are essential for preventing accidental damage to floors and countertops during the painting process.
Explanation of Each Material and Its Purpose
Each material in this comprehensive list serves a specific purpose critical to the success of the black cabinet painting project. Sandpaper and tack cloth prepare the surface, removing imperfections and ensuring a clean, smooth foundation. Primer acts as a bonding agent, enhancing adhesion and providing a consistent base for the black paint. The carefully chosen black paint delivers the desired color and finish, while brushes or rollers and painter’s tape contribute to precise and controlled application.
Finally, drop cloths or plastic sheets protect the surrounding environment, allowing for a focused and mess-free painting experience. Understanding the purpose of each material is essential for executing a professional and long-lasting kitchen cabinet transformation.
Preparation

Remove Cabinet Doors and Hardware
One of the initial steps in preparing kitchen cabinets for a black paint transformation is the removal of cabinet doors and hardware. Carefully labeling each door and corresponding hardware ensures a seamless reassembly process later on. This systematic approach simplifies the task and prevents confusion, facilitating a smoother overall painting experience.
Clean Surfaces Thoroughly
Before diving into the painting process, thorough cleaning is paramount. Using a degreaser aids in the removal of accumulated grease and grime that can compromise paint adhesion. Grease, often present in kitchens, can hinder the bonding of paint to the surface. A degreaser effectively eliminates these contaminants, creating a clean canvas for the subsequent paint layers.
Following degreasing, wiping surfaces with a damp cloth further ensures the removal of any remaining residue. This step is crucial for achieving a smooth and even application of primer and paint. A clean surface not only enhances adhesion but also promotes a more professional and polished finish.
Sanding
Sanding is a key step in the preparation process, serving to promote optimal paint adhesion. Using sandpaper of various grits, the goal is to create a slightly rough surface that allows the primer and paint to adhere securely. This is especially important when working with previously finished cabinets, as it helps eliminate the existing finish and prepares the wood for the new coat.
Filling any imperfections with wood filler comes next, ensuring a flawless surface. This step is crucial for achieving a uniform appearance, as it addresses any dents, scratches, or holes in the wood. Once filled, smoothing the surfaces with fine-grit sandpaper further refines the cabinet’s texture, providing the ideal foundation for the primer and black paint. The meticulous approach to sanding guarantees that the final result is not only aesthetically pleasing but also durable, with the paint securely adhering to a meticulously prepared surface.
Each step in the preparation process contributes to the overall success of the black cabinet painting project, setting the stage for a professional and long-lasting finish.
Priming

Importance of Primer for Adhesion and Durability
The application of primer is a critical step in the process of painting kitchen cabinets black. The primary purpose of primer is to enhance adhesion, providing a strong bond between the surface and the subsequent layers of paint. Additionally, primer contributes to the overall durability of the finish, ensuring that the black paint adheres uniformly and withstands daily wear and tear. This foundational layer acts as a barrier, preventing stains and promoting a consistent and long-lasting appearance.
Apply Primer Evenly on All Surfaces
Use a Brush or Roller for an Even Coat
The choice of application tools, whether a brush or roller, plays a crucial role in achieving an even coat of primer. A high-quality brush allows for precision in detailed areas, while a roller covers larger surfaces efficiently. Ensuring an even application of primer is essential for creating a uniform base, setting the stage for the black paint to showcase its intended color and finish.
Allow Primer to Dry Completely Before Proceeding
Patience is key during the priming stage. Allowing the primer to dry completely before moving on to the next steps ensures a stable foundation for the subsequent layers of black paint. This waiting period is crucial to prevent any potential issues with adhesion, bubbling, or uneven texture.
Painting

Choosing the Right Black Paint
When painting kitchen cabinets black, selecting the right type of paint is pivotal. Opt for a high-quality paint specifically formulated for cabinets, offering features such as durability, easy cleaning, and resistance to scratches and stains. The choice of paint contributes significantly to the final appearance and longevity of the painted cabinets.
Apply the First Coat of Black Paint
Use Long, Even Strokes
Whether using a brush or roller, applying the first coat of black paint with long and even strokes helps achieve a smooth and consistent finish. This technique minimizes visible brush or roller marks, creating a professional-looking surface.
Allow Paint to Dry Before Applying Additional Coats
After applying the first coat, it’s crucial to allow sufficient drying time before adding more layers. This not only ensures an even application but also prevents potential issues such as paint smudging or uneven texture.
Sand Between Coats for a Smooth Finish
Sanding between coats is a crucial step to achieve a smooth and flawless finish. Using fine-grit sandpaper, lightly sand the painted surface to remove any imperfections, ensuring each subsequent coat adheres well and contributes to an impeccable final result.
Apply Additional Coats as Needed for Desired Coverage
Assess the coverage after each coat and apply additional coats as necessary to achieve the desired depth of color and uniformity. Building up the paint gradually ensures a more durable and professional-looking finish.
The combination of proper priming and meticulous painting techniques is essential for transforming kitchen cabinets into a sleek and enduring black masterpiece. Following these steps ensures not only an aesthetically pleasing outcome but also a durable and long-lasting finish.
Finishing Touches
Reassemble Cabinet Doors and Hardware
Once the painted cabinets have dried thoroughly, carefully reassemble the cabinet doors and hardware. Use the labels created during the removal process to ensure precise placement. Proper reassembly is crucial for restoring functionality and achieving a polished final look.
Check for Any Touch-Ups Needed
Conduct a thorough inspection of the painted cabinets to identify any areas that may require touch-ups. Addressing imperfections promptly ensures a flawless finish. Touch-ups may involve additional painting or minor adjustments to achieve the desired aesthetic.
Remove Painter’s Tape Carefully
When confident that the paint has dried completely, remove the painter’s tape with caution. Careful removal prevents unintentional damage to freshly painted surfaces and ensures clean, sharp lines between painted and unpainted areas.
Clean Up Any Drips or Spills Promptly
Act swiftly to clean up any accidental drips or spills that may have occurred during the painting process. Prompt cleaning helps maintain the cleanliness of the surrounding space and prevents any unwanted marks on floors or countertops.
Tips and Tricks

Work in a Well-Ventilated Area
Ensure adequate ventilation during the painting process to disperse fumes and maintain a healthy indoor environment. Open windows and doors or use exhaust fans to facilitate proper air circulation, especially when working with paints and primers.
Take Your Time for a Professional Finish
Patience is key when painting kitchen cabinets black. Taking the time to follow each step meticulously contributes to a professional and durable finish. Rushing through the process may result in uneven application and compromise the overall quality of the project.
Consider Using a Paint Sprayer for a Smooth Application
For an exceptionally smooth and professional finish, consider using a paint sprayer. Sprayers provide an even coat of paint, minimizing brush or roller marks. Ensure proper preparation and practice with the sprayer before applying paint to the cabinets.
Follow the Manufacturer’s Instructions on Paint and Primer
Adhere strictly to the instructions provided by the paint and primer manufacturers. These guidelines offer valuable insights into application techniques, drying times, and other essential considerations for achieving optimal results.
Conclusion
Transforming kitchen cabinets into a sleek black finish requires attention to detail and a systematic approach. From meticulous preparation to the final finishing touches, each step contributes to the overall success of the project. By following these guidelines and incorporating tips and tricks, one can achieve not only an aesthetically pleasing result but also a durable and professionally painted kitchen that enhances the overall ambiance of the space.


