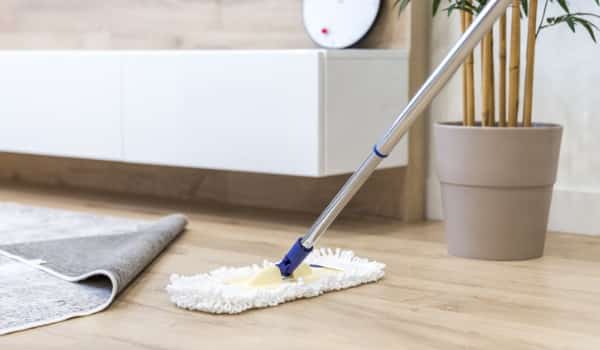
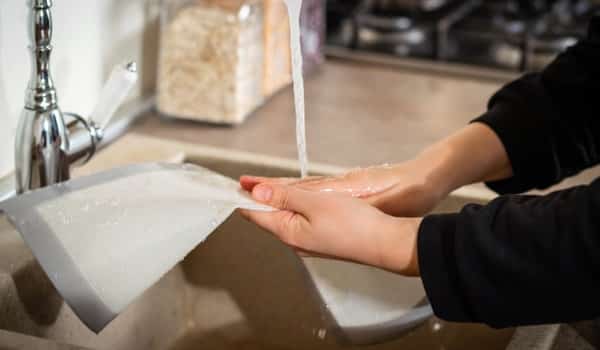
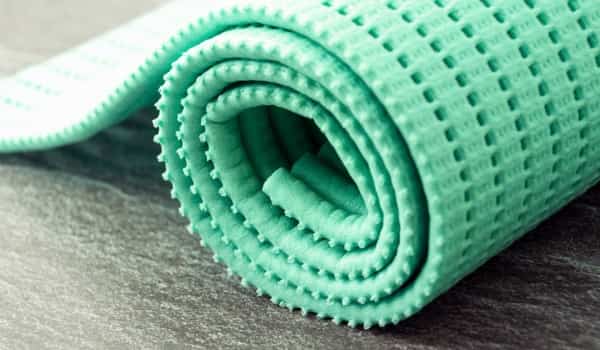
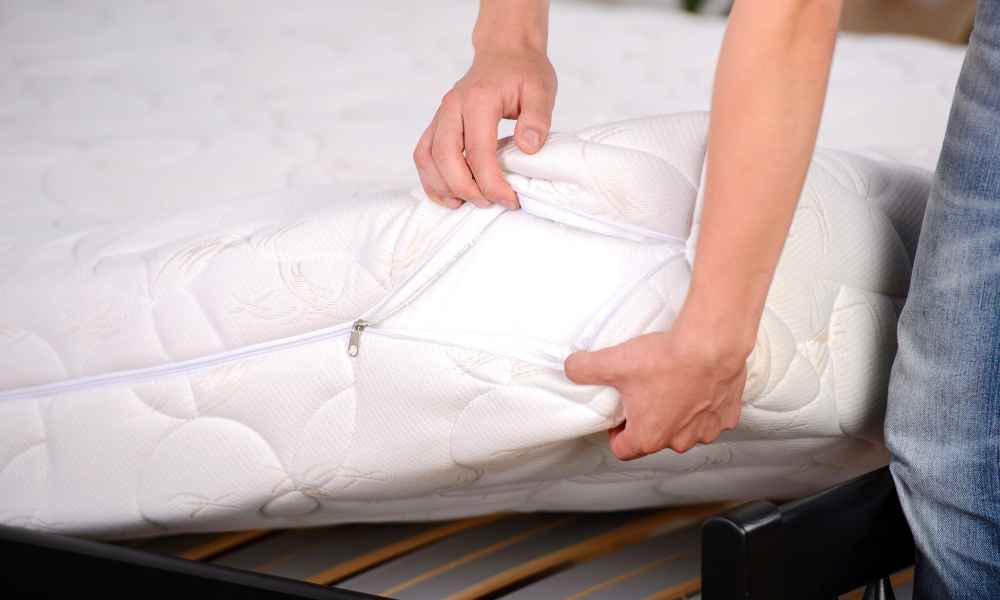
Memory foam kitchen mats are a popular choice for many homeowners and chefs due to their comfort and support while standing for long periods. However, just like any other kitchen accessory, these mats can accumulate dirt, spills, and stains over time. Proper cleaning And maintenance are essential not only to maintain the mat’s appearance but also to ensure its longevity And functionality. In this article, We will guide you through the step-by-step process of effectively cleaning your memory foam kitchen mat, Helping you keep it clean, fresh, And ready to cushion your feet as you move around your culinary haven.
Can I machine wash my memory foam kitchen mat?

Machine washing is not recommended for memory foam mats. The agitation and heat from the washing machine can damage the foam. It’s best to follow the manufacturer’s care instructions, which usually suggest hand-cleaning or spot-cleaning only.
How often should I clean my memory foam kitchen mat?

You should clean your memory foam kitchen mat regularly to maintain its cleanliness and hygiene. For daily maintenance, spot-clean any spills or stains immediately to prevent them from setting in. As for deep cleaning, It is recommended to do this every few months or as needed, Depending on the mat’s usage and the amount of dirt it accumulates.
By adhering to a regular cleaning schedule, you can prolong the lifespan of your memory foam kitchen mat and ensure a clean and pleasant kitchen environment.
Can I use a steam cleaner on my memory foam kitchen mat?

Using a steam cleaner on a memory foam kitchens mat is generally not recommended. This is sensitive to high heat and moisture, and steam cleaning can potentially damage the foam’s structure and cause it to lose its supportive properties. The intense heat and steam may also take a long time to dry completely, leading to mold or mildew growth.
Instead, opt for gentle cleaning methods like hand-cleaning with a soft brush or cloth to maintain the integrity of your foam kitchen rug and keep it in good condition.
Importance of keeping kitchen mats clean

Keeping kitchen mats clean is of utmost importance for several reasons. Firstly, kitchen mats often serve as a barrier between our feet and the hard kitchen floor, providing comfort and support during prolonged standing or cooking sessions.
Regular cleaning ensures the mat remains free of dirt, Crumbs, and spills, maintaining its hygienic qualities and preventing the growth of bacteria, mold, And unpleasant odors. Additionally, a clean kitchen carpet contributes to a tidy and inviting kitchen space, enhancing the overall aesthetics and making it a more enjoyable and safe environment for everyone in the household.
Preparing for Cleaning

1. Mild detergent or soap
Choose a gentle and non-abrasive detergent or soap to avoid damaging the foam material. Avoid using harsh chemicals Or bleach, as they can degrade the foam And cause Discoloration.
2. Warm water
Use warm water for the cleaning solution. It helps to loosen dirt and grime without being too harsh on the memory foam.
3. Soft-bristled brush or cloth
A soft-bristled brush or a gentle cloth is essential for scrubbing away stains and dirt without causing any abrasions on the memory foam surface.
4. Spray bottle
A spray bottle is useful for creating a cleaning solution of mild detergent and warm water. It allows for even distribution and controlled application of the solution on the mats.
Regular Maintenance

1. Shake or vacuum loose debris
Regularly shake out your kitchen mat to remove loose dirt, crumbs, and debris that might have accumulated on the surface. Alternatively, You can use A vacuum cleaner with A brush attachment To gently remove the dirt without damaging the foam.
2. Spot clean spills and stains immediately
Act quickly when spills or stains occur on your kitchen mat. Blot the affected area with a clean cloth or paper towel to absorb as much liquid as possible. Then, use A mild detergent or soap mixed with warm water and A soft cloth or brush to gently clean the stain. Avoid rubbing vigorously, as it may damage the foam.
Weekly maintenance

1. Vacuum the mat to remove embedded dirt
Use a vacuum cleaner with a brush attachment to thoroughly clean the surface of the memory foam mat. This will help remove Any dirt, dust, and debris that may have become embedded in the foam over time, Keeping it clean and hygienic.
2. Check for persistent stains or odors
During your weekly maintenance, inspect the rug for any lingering stains or odors that may not have been fully removed during daily spot cleaning. Address these issues promptly using a mild detergent or a suitable enzyme-based cleaner, as well as a soft-bristled brush or cloth. Properly dealing with persistent stains and odors will help maintain the freshness and appearance of your kitchen mat.
Deep Cleaning

Remove the foam kitchen mats from the floor
Start by carefully lifting the mat from the kitchen floor and taking it to a suitable cleaning area. This step ensures that you can clean the entire mat thoroughly and avoid damaging the floor underneath.
Dust off loose dirt and debris
Shake the mat gently to remove any loose dirt and debris that may have accumulated on the Surface. Use A soft-bristled brush or a handheld vacuum cleaner with a brush attachment to eliminate Any remaining dirt and dust.
Spot treat stubborn stains and odors
Inspect the mat for any stubborn stains or lingering odors that require extra attention. Spot-treat these areas with a cleaning solution made of mild detergent or soap mixed with warm water. For tough stains, you may use A soft-bristled brush to gently scrub the area, being careful not to damage the foam. Additionally, you can use a commercial enzyme-based cleaner designed for memory foam if necessary.
Submerging the mat (if safe for the memory foam type)

Preparing the cleaning solution
Fill a bathtub or a large basin with enough warm water to completely submerge the memory foam mat. Add a mild detergent or soap to the water and mix it gently to create A Cleaning Solution. Avoid harsh chemicals or bleach, as they can damage the foam.
Soaking and agitating the mat gently
Place the foam kitchen mat into the cleaning solution, ensuring it is fully submerged. Allow the mat to soak for a few minutes to loosen dirt and grime. Then, gently agitate the mats by moving it around in the water, being careful not to apply too much pressure or wring the foam, as it may damage its structure.
Drying the mat properly

1. Air-drying vs. machine drying
It is generally recommended to air-dry memory foam mats instead of using a machine dryer. Machine drying can subject the foam to high heat, potentially causing it to lose its shape and support. Air-drying allows the mat to dry at its own pace without the risk of damage. Find a well-ventilated area with good airflow to place the mat for drying.
2. Proper placement to ensure even drying
When air-drying your memory foam kitchen mat, lay it flat on a clean, dry surface. Avoid folding or hanging the mat as it dries, as this can create uneven drying and potential deformation. Additionally, periodically flip the mat over during the drying process to ensure both sides receive equal exposure to air, facilitating even drying.
Addressing Specific Stains and Odors

1. Grease and oil stains
- Immediately blot the stain to remove excess grease or oil.
- Create a cleaning solution with warm water and mild dish soap.
- Gently scrub the stain using a soft-bristled brush or cloth.
- Rinse the area thoroughly with clean water and blot dry.
2. Food and beverage stains
- Blot the stain promptly to absorb excess liquid.
- Prepare a mixture of warm water and mild detergent or vinegar.
- Dab the stain gently with the cleaning solution.
- Rinse with clean water and blot dry. For stubborn stains, use a baking soda paste.
3. Pet stains and urine odors
- Blot any excess urine with paper towels or absorbent cloth immediately.
- Create a solution with equal parts water and white vinegar.
- Gently blot the stained area with the solution.
- Rinse thoroughly with water and blot dry. To eliminate odors, sprinkle baking soda and vacuum it up after a few hours.
4. Mold and mildew growth
- Remove the mat from the kitchen immediately if mold or mildew is visible.
- In a well-ventilated area, use A mixture of mild detergent and warm water to gently clean the affected Areas.
- Rinse thoroughly and ensure the mat dries completely to prevent further mold development.
Tips for Long-Term Care

Avoid exposing the mat to direct sunlight
Prolonged exposure to direct sunlight can cause the memory foam to deteriorate and lose its supportive properties. Keep the mat away from windows or any areas with direct sunlight to prevent discoloration and damage.
Minimize exposure to water and liquids
These are not designed to handle excessive moisture. Avoid spilling liquids on the mat and be cautious when cleaning it. Spot clean stains promptly and use only a damp cloth when necessary, ensuring the foam doesn’t get soaked.
Maintaining proper ventilation in the kitchen area
Adequate ventilation helps prevent mold and mildew growth on the memory foam mat. Ensure your kitchen has good air circulation to keep the mat dry and free from unwanted odors.
My memory foam mat has indents from heavy furniture. Can I fix it?
Unfortunately, fixing indents in a foam mat caused by heavy furniture can be challenging. It is designed to conform to pressure and body weight, and once indents form, they may become semi-permanent. While you can try to reverse the indent by placing the mat in a warm room or using a hairdryer on low heat to soften the Lather, complete restoration may not be possible. To prevent future indents, consider using furniture pads or rearranging the placement of heavy items on the mat to distribute weight evenly and minimize pressure points.
My memory foam mat has visible mold growth. What should I do?
If your foam mat has visible mold growth, It’s essential to take immediate action to address the issue. Remove the mat from the kitchen area to prevent further contamination, And clean the affected areas with A mixture of mild detergent and warm water. Thoroughly rinse And dry the mat in A well-ventilated area to ensure it is completely free of moisture, preventing further mold development. If the mold growth is extensive or persists, consider replacing the mat to maintain a clean and hygienic kitchen environment.
The Final thought
Cleaning memory foam kitchen mats is a simple process that can help extend their lifespan and ensure their functionality. By following these easy steps, Such as vacuuming regularly, spot-cleaning stains, And deep cleaning as needed, you can keep your mat looking fresh and clean For years to come. Remember to always check the manufacturer’s instructions for any specific cleaning recommendations for your particular mat. With proper care and maintenance, your memory foam kitchen mat will continue to provide comfort and support while keeping your kitchen floor clean and slip-free. So don’t wait any longer – start cleaning your foam kitchen mats today and enjoy a cleaner and safer kitchen environment!


