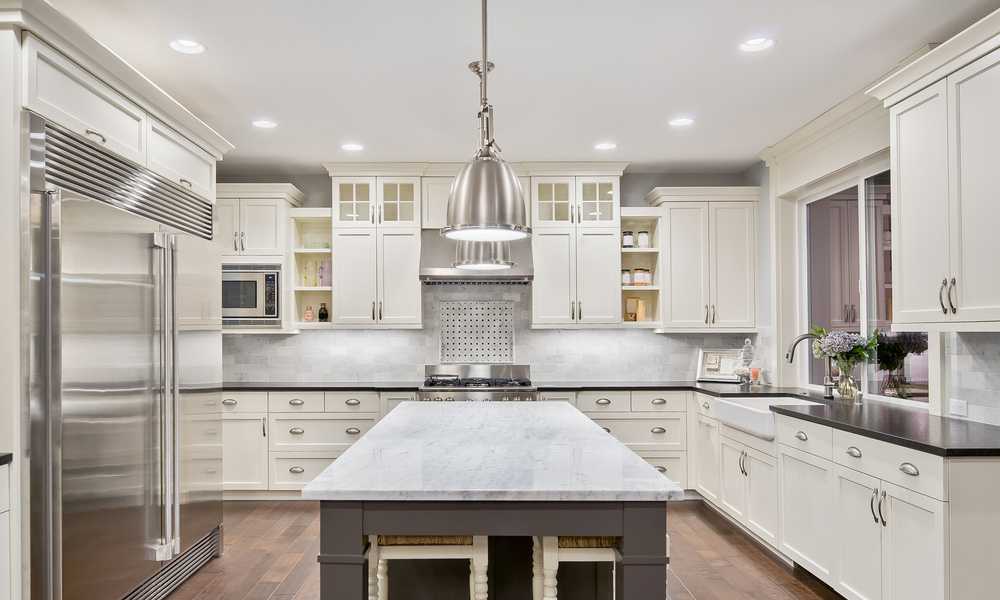
Adjust cabinet hinges is a relatively simple process that can improve the functionality and appearance of your cabinets. Over time, hinges may become loose or misaligned, causing doors to sag or not close properly. By making a few adjustments, You can restore the proper alignment and ensure the smooth operation of your cabinet doors. In this guide, we will outline the steps involved in adjusting cabinet hinges to help you achieve A properly functioning and aesthetically pleasing cabinet setup.
Why Should You Adjust Your Cabinet Hinges?

Adjusting your cabinet hinges is crucial for maintaining the functionality and aesthetic appeal Of your cabinetry. Over time, Hinges can loosen or misalign due to general wear and tear, changes in temperature, humidity, Or simply from regular usage, resulting in doors that don’t close properly, are uneven, Or squeak.
By adjusting your cabinet hinges, You can ensure that your cabinet doors open and close smoothly and correctly. This not only improves the usability Of your cabinets but also contributes to the overall neatness and visual appeal of your space.
Therefore, It is an important aspect of home maintenance to preserve the longevity of your cabinetry and maintain the look and feel )f your kitchen or other areas where cabinets are used.
What tools do you need to adjust cabinet hinges?
- Screwdriver (Phillips or flathead, depending on the hinge screws)
- Drill (optional, for adjusting screw holes)
- Measuring tape or ruler
- Pencil or marking tool
- Level
- Hammer (for minor adjustments)
- Hinge adjustment tool (if applicable)
- Lubricating oil or spray
Types of Cabinet Hinges

1. Butt Hinges

Butt hinges are the most common and traditional type of Joints For cabinets. They consist Of two rectangular metal plates, One attached to the door and the other to the cabinet frame, Connected by A pin. Butt hinges are reliable and durable, making them suitable for various cabinet styles. They are typically used for inset doors that sit flush with the cabinet frame.
2. Concealed Hinges

Also known as European hinges or cup hinges, concealed hinges offer a clean and seamless appearance as they are fully hidden when the cabinet door is closed. They are adjustable in three directions, allowing for precise alignment and smooth operation. Concealed hinges are easy to install and remove, making them popular for modern cabinets. They are available in various configurations, including full overlay, half overlay, and inset.
3. Pivot Hinges

Pivot hinges are unique joints that enable the door to pivot horizontally instead of swinging on a side hinge. They are commonly used for full-height cabinet doors or doors that need to swing in both directions. Pivot hinges can be surface-mounted or recessed into the top and bottom of the door and cabinet frame. They provide a smooth and stable operation, making them ideal for heavy or large cabinet doors.
4. Continuous Hinges

Continuous hinges also referred to as piano hinges, are long and narrow joints that run the entire length of the door or cabinet. They provide continuous support along the entire hinge length, making them suitable for cabinets requiring extra strength and stability. Continuous joints are commonly found in applications such as tall pantry cabinets or doors that need to withstand heavy loads.
5. Decorative Hinges
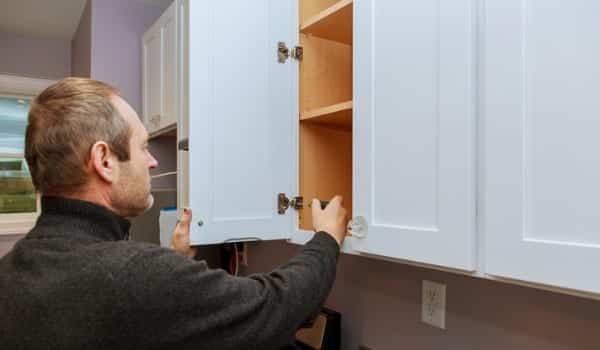
Decorative hinges are designed to enhance the aesthetics of cabinets and add a touch of style. They come in various shapes, finishes, And designs, Allowing you to customize the appearance Of your cabinets. Decorative joints are often used in furniture-style cabinets or to complement specific design themes.
Signs That Your Cabinet Hinges Need Adjustment
1. Difficulty Opening or Closing Cabinet Doors
If you find it challenging to open Or close your cabinet doors smoothly, It could be due to misaligned or improperly adjusted joints. Over time, hinges can shift or become loose, causing the doors to bind or catch. This can make it difficult to access your cabinet’s contents and may indicate the need for hinge adjustment.
2. Cabinet Doors That Won’t Stay Open or Closed
Cabinet doors that won’t stay open or closed: If your cabinet doors refuse to stay in the open or closed position and tend to swing back or forth, it’s a clear sign that the hinges need adjustment. This issue can occur when the joints are too tight or too loose, preventing the doors from maintaining the desired position.
3. Squeaking or Grinding Sounds
Squeaking or grinding sounds: When you hear squeaking or grinding noises while opening or closing your cupboard doors, it’s often a result of friction caused by misaligned or poorly lubricated Joints. Over time, dirt, dust, or lack of lubrication can lead to increased friction, causing irritating sounds. Adjusting and lubricating the joints can eliminate the noise and ensure smooth operation.
4. Uneven Cabinet Doors
Uneven cabinet doors: If your cabinet doors appear misaligned or have noticeable gaps between them when closed, it indicates a need for hinge adjustment. Misaligned joints Can cause the doors to sit unevenly, compromising the aesthetic appeal and functionality of your cabinets. Proper adjustment can align the doors and eliminate any gaps.
5. Loose Hinges
Hinges that have become loose over time can lead to sagging or misaligned cabinet doors. If you notice wobbling or instability in the doors when opening or closing them, It’s a sign that the joints need tightening Or adjustment. Loose screws or worn-out hinge mechanisms can cause the hinges to lose their proper positioning and affect the overall stability of the doors.
Tools Needed for Adjusting Cabinet Hinges

1. Screwdriver
A screwdriver is an essential tool for adjusting cabinet hinges as it allows you to tighten Or loosen the screws that hold the joints in place. Ensure you have both a flathead and a Phillips screwdriver, as different types of screws may be used in your joints. Choosing the correct size screwdriver is crucial to prevent stripping or damaging the screw heads.
2. Drill
A drill can be useful for creating new holes or modifying existing holes when adjusting cabinet hinges. It allows you to drill pilot holes for new screws or enlarge existing holes to accommodate different screw sizes. Make sure to select the appropriate drill bit size based on the screws you will be using.
3. Level
A level is an important tool for ensuring that your cabinet doors are properly aligned and level. It helps you determine if the doors are at a horizontal or vertical level, allowing for precise adjustment. Place the level on top of the door to check for any tilting or misalignment, and make the necessary adjustments to achieve a balanced and symmetrical appearance.
4. Clamps
Clamps are useful for holding the cupboard doors in place while you work on adjusting the hinges. They provide stability and keep the doors from moving or falling while you make adjustments. Use clamps to secure the doors in the desired position, ensuring that they remain steady throughout the adjustment process.
5. Measuring Tape
A measuring tape is essential for taking accurate measurements during hinge adjustment. You may need to measure the distance between the doors to ensure consistent spacing, measure the distance from the edges of the cabinet frame to the joints for proper alignment, or measure and mark the positions of new holes for mounting hinges. Precise measurements help achieve precise adjustments and ensure that the doors are aligned correctly.
6. Pliers
Pliers can be handy during hinge adjustment for various tasks. They allow you to grip and hold small parts such as hinge pins while making adjustments. Pliers with a long nose or needle-nose design are especially useful for reaching tight spaces or manipulating small components with ease.
Step-by-Step Guide On How to Adjust Cabinet Hinges

Step 1: Remove the cabinet door.
To make hinge adjustments more accessible, start by removing the cabinet door. Open the door fully and locate the screws on the hinge attaching it to the cupboard frame. Use a screwdriver to remove these screws, carefully supporting the door as you do so. Once the Screws are removed, Lift the door off the joints And set it aside in a safe place.
Step 2: Adjust the height of the cabinet door.
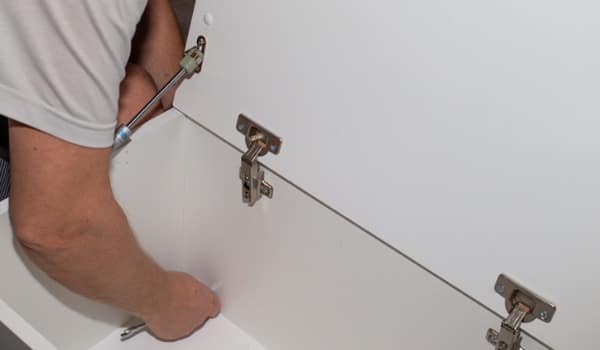
To adjust the height of the cabinets door, locate the screws on the hinge attaching it to the cabinet frame. These screws typically have elongated holes that allow vertical adjustment. Loosen the screws slightly and move the door up Or down to achieve the desired height. Use a level to ensure the door is straight and aligned with adjacent doors or the cupboard frame. Once the door is properly positioned, Tighten the screws to secure the hinge in place.
Step 3: Adjust the depth of the cabinet door.
To adjust the depth or “inset” of the cabinet door (how far it sits within the cabinet frame), locate the screws on the hinge attaching it to the cabinets door. These screws typically have elongated holes that allow for horizontal adjustment. Loosen the screws slightly and move the door in or out to achieve the desired depth. Use a measuring tape to ensure the door is evenly aligned with the cupboard frame or adjacent doors. Once adjusted, tighten the screws to secure the hinge in place.
Step 4: Adjust the width of the cabinet door.
If the cabinet doors are not evenly spaced Or have gaps between them, You may need to adjust the Width. This adjustment is typically done by modifying the position of the hinge on the door. Loosen the screws that attach the hinge to the cupboard door and shift the hinge slightly in the desired direction to narrow or widen the gap. Use a measuring tape to ensure consistent spacing between the doors. Once adjusted, tighten the screws to secure the hinge in place.
Step 5: Adjust the tension of the cabinet hinges.
If the cabinet door feels too loose Or too tight when opening or closing, you can adjust the tension of the Joints. Many joints Have a built-in adjustment screw that controls the tension. Turning this screw clockwise will increase the tension, hile turning it counterclockwise will decrease the tension. Make small adjustments and test the door’s movement until you achieve the desired tension.
Step 6: Reattach the cabinet door.
Once you have made the necessary adjustments to the hinges, It’s time to reattach the cabinet Door. Hold the door at an angle and align the hinges with the corresponding hinge plates on the cabinets frame. Lower the door onto the Joints, making sure they fit securely. Insert and tighten the screws to attach the joints to the cupboard frame. Test the door’s movement to ensure it opens and closes smoothly.
Troubleshooting Common Problems

1. Stripped Screws
If you encounter stripped screws that won’t tighten or loosen properly, there are a few options. First, You can try using a larger screwdriver to get a better grip. If that doesn’t work, remove the stripped screw using pliers or a screw extractor tool. Replace the stripped screw with a slightly larger one or use a filler like toothpicks or wooden dowels coated in wood glue to create a new thread.
2. Loose Hinges
If your hinges are loose and causing the cabinets door to sag or wobble, you can tighten them by using a screwdriver. Start by tightening the screws on the hinge plates attached to the cabinets frame. If the screws don’t hold tightly, You may need to fill the existing screw holes with toothpicks or wooden dowels coated in wood glue. Insert them into the holes, let the glue dry, then reattach the hinge screws. Alternatively, you can use longer screws that anchor into the cupboard frame more securely.
3. Damaged Hinge Plates
If the hinge plates on the cabinet frame are damaged or pulled away from the wood,ou may need to repair Or replace them. Fill the existing holes with wooden dowels coated in wood glue and let them dry. Then, drill new pilot holes for the hinge screws and reattach the hinge plates. If the damage is severe, Consider replacing the entire hinge plate with a new one.
4. Uneven Cabinet Door Alignment
If your cabinet doors are uneven or have gaps between them, you can adjust the Joints to achieve better alignment. Loosen the screws On the joints and adjust the height, depth, or width as needed. Use a level and measuring tape to ensure even alignment and consistent spacing. Once adjusted, tighten the screws to secure the hinges in place.
5. Squeaky Hinges
To eliminate squeaky Joints, start by applying lubricant to the hinge pivot points. Silicone-based lubricants or household oils like WD-40 can be used. Apply a small amount to the pivot points and work the hinge back and forth to distribute the lubricant. Wipe off any excess to prevent the accumulation of dust and debris. If the squeaking persists, check for any misalignment or damaged components that may require adjustment or replacement.
Maintenance Tips
Lubrication
Regular lubrication is essential to keep your cabinet joints operating smoothly. Apply a silicone-based lubricant or household oil to the hinge pivot points. Use a small amount Of lubricant and distribute It evenly by moving the hinge back and forth. This helps reduce friction, prevents wear and tear, and eliminates squeaking or grinding sounds. Avoid using excessive lubricant that can attract dust and debris.
Cleaning
Regular cleaning Of the hinges is important to remove dirt, dust, and debris that can accumulate Over time and affect their performance. Use a soft cloth or a toothbrush to gently scrub the hinges and remove any buildup. If there is stubborn grime or grease, you can use a mild detergent mixed with water. Be careful not to use abrasive cleaners or harsh chemicals that can damage the hinges or surrounding surfaces. After cleaning, ensure the hinges are dry before applying lubricant.
Tightening Screws
As part of your maintenance routine, periodically check and tighten the screws that secure the hinges. Over time, screws can become loose due to the constant movement of the cabinet doors or vibrations. Use a screwdriver to tighten any loose screws, Making sure they are snug but not Over-tightened. Be cautious not to strip the screw heads while tightening. If you encounter stripped screws, refer to the earlier troubleshooting tip on how to address them.
Adjusting Hinges
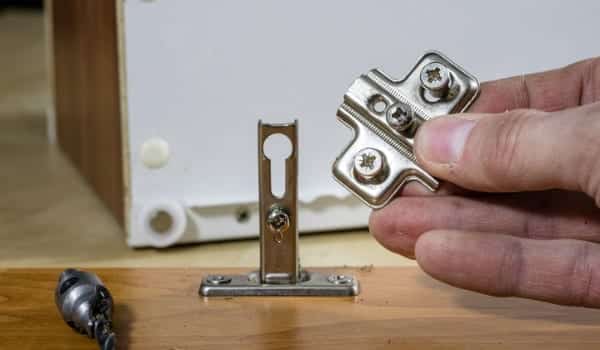
If you notice any issues with door alignment, such as uneven doors or gaps, adjusting the hinges can help resolve the problem. Refer to the step-by-step Guide mentioned earlier for adjusting the height, Depth, or width of the doors. By making these adjustments, you can ensure smooth opening and closing of the doors and maintain a visually appealing cabinet appearance. Take your time to ensure accurate adjustments and test the doors’ movement after making any changes.
Inspection
Regular inspections of your cabinet hinges are crucial to identify any signs of wear, damage, or other issues. During your inspection, check for loose screws, bent or damaged hinge components, or excessive wear on the pivot points. If you notice any problems, address them promptly to prevent further damage to the hinges or cupboard structure. If necessary, consult a professional for repairs or replacements.
The Final Thought
Cabinet hinges are essential for the proper functioning and aesthetics of your cabinets. To ensure optimal performance, it is important to adjust and maintain them. This involves recognizing signs of adjustment needs, gathering the necessary tools, removing the cabinets door, adjusting the height, depth, and width of the door, checking and adjusting the tension of the hinges, cleaning and lubricating them, tightening loose screws, and conducting routine inspections. By following these steps and giving proper attention to hinge adjustment and maintenance, you can enjoy cabinets that operate smoothly, have proper alignment, and last longer.


