Crown molding can add a sophisticated, elegant touch to any kitchen. Enhancing the look of your cabinets. Crown molding is a great way to update the style and feel of your kitchen. This is an easy and affordable home improvement project. Fortunately, with the right materials and knowledge, installing molding on kitchen cabinets with soffits is relatively simple. This article provides step-by-step instructions for measuring, cutting, and attaching the molding to create a sophisticated look in your kitchen. If you have soffits on top of your kitchen cabinets, It may seem like an intimidating task. However, with the right tools and procedures in place, you can easily learn how to install crown molding on kitchen cabinets with soffits.
How can Crown Molding be used in a home?
This is a decorative trim that can be used to enhance the visual appeal of any room. Typically it is installed along the top edge of walls, where they meet the ceiling, it can be made from a variety of materials such as wood, plastic, or metal. It can add an elegant touch to any room and help create a more polished look.
This also serves a practical purpose by covering up any unevenness between the wall and ceiling surfaces. This helps create a seamless transition between the two surfaces, making for a more polished look overall. Additionally, It can be painted in different colors to match your existing décor or add a pop of color to your space.
Finally, This is relatively easy to install and can be done on your own with some basic tools. There are plenty of tutorials available online that provide step-by-step instructions on how to install crown molding yourself.
18 Crown Molding Kitchen Cabinets with Soffits Ideas
1. Softening the Wall and Ceiling
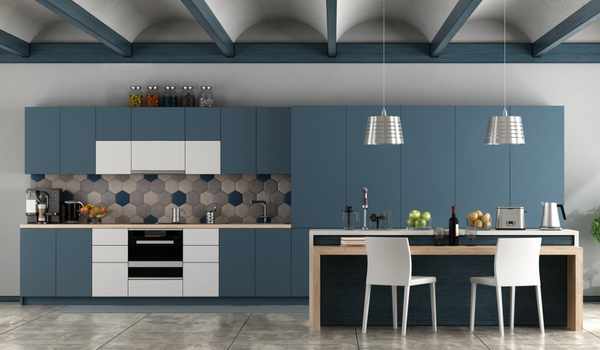
Soffits are panels or boards placed between the wall and ceiling, usually made of wood or metal. They are often used to cover gaps between cabinets and ceilings or walls in order to create a seamless transition from one surface to another. Soffits also act as additional storage space for items like cookbooks and dishes, while still providing visual interest through their texture, color, or design.
2. Add Flair to Cabinets and Soffits

Install crown molding on kitchen cabinets and soffits is an ideal way to bring a touch of elegance and class into any room. In addition, it’s not just aesthetically pleasing; it also serves practical purposes such as hiding gaps between cabinets, filling in any cracks or chips in cabinetry, and protecting walls from dings or scratches due to everyday use.
3. Accentuate an Interior Doorway or Archway

Accentuate an Interior Doorway or Archway install with Crown Molding Kitchen Cabinets and Soffits. Take your home to the next level of sophistication by adding crown molding around the inside frame of your doorways or archways. This timeless addition will add style, elegance, and flair to any room in your house. In this case with a few tools and supplies from your local hardware store, you can easily create a custom look that stands out from ordinary interior designs.
4. Install really tall upper cabinets

Install really tall upper cabinets can help you achieve this look, Crown molding kitchen cabinets with soffits are a great way to add more storage space without sacrificing style or function. By using taller upper cabinets, you can create an illusion of height that will make your smaller kitchen look bigger and brighter.
These types of crown molding kitchen cabinets with soffits come in many different styles and sizes. From classic designs to modern looks, there is something for every taste and budget. With the right design, these taller upper cabinets will be the perfect addition to any kitchen decor. They also provide plenty of storage space while being visually appealing too! With proper installation, they will last for years to come and enhance the beauty of your home’s interior design.
5. Finish the Tops of Partial Walls

Install crown molding and kitchen cabinets with soffits to the tops of partial walls can really make a room stand out. Not only does it add visual interest, but it also adds value to any home or business. With a few basic tools and some free time, you can easily finish off the tops of partial walls in your home or workplace with crown molding and kitchen cabinets with soffit panels.
Install crown molding and kitchen cabinets with soffits is relatively easy for DIYers who want to tackle this job themselves. To ensure success, take precise measurements prior to purchasing supplies from your local hardware shop or home improvement store. Be sure to consider how much space should be left between the top of the cabinet and the ceiling for the proper installation of crown moldings.
6. Dress Up Headers on Entry Doors

Adding dress-up headers to an entry door can be a great way to spruce up the look of your home. For homeowners who want to take things to the next level, crown molding cabinets with soffits are a great way to really make an entrance stand out.
These crown moldings are often made from durable materials like MDF or wood. They provide a stylish and elegant detail that instantly adds flair and sophistication. When combined with soffits, these cabinets create an even more dramatic effect by providing depth, texture, and visual interest. Plus, they’re relatively easy to install and require minimal maintenance.
7. Creative ideas for kitchen soffits

One of the most popular ways to dress up kitchen soffits is with crown moldings. It adds an elegant touch to any room and helps define the shape of the ceiling. It also helps draw attention away from the unsightly gap between cabinets and ceilings. Creating an overall unified look in your kitchen space. Another great idea is painting your soffits to match the color of your walls or cabinets for a more polished appearance. Installing recessed lighting in or around your soffit will further enhance its visual appeal while making it functional as well.
8. Framing a Window
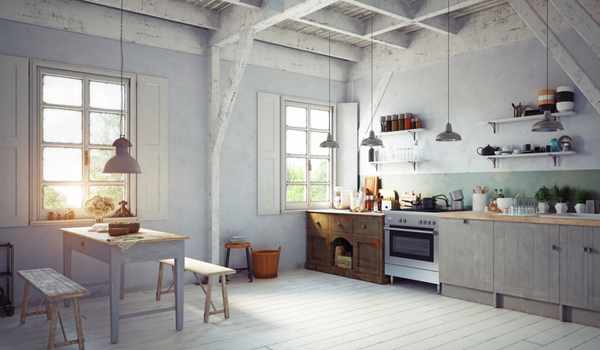
Framing a window is a process that can be done yourself with some knowledge and guidance. Doing the job correctly ensures that it will stay looking beautiful for years to come. Window frames are an important part of your home and require special attention when installing them. Especially if you’re installing crown moldings in kitchen cabinets with soffits.
The first step in the process is to measure the opening of the window accurately, ensuring there’s enough space for both the window frame and any additional material such as crown moldings or soffits. Once you have your measurements, purchase pre-cut lumber or MDF boards to use as framing materials. This will make installation much easier than cutting everything by hand.
9. Bordering a Coffered Ceiling

When creating a coffered ceiling, it’s important to properly border the area between the crown moldings and kitchen cabinets. This can be done by adding soffits – boards that run along the length of each wall between the two elements for a seamless transition point. Also provide extra storage space soffits above kitchen cabinets. Allowing you to keep small items such as spices or utensils out of sight but within easy reach. Additionally, they help define the look of your kitchen by creating visual interest along its perimeter.
10. Convert It into a Beam

Converting your kitchen cabinets with soffits into beams can give an eye-catching look that will be sure to impress guests. The addition of beams adds depth and character to any space, and when combined with crown molding it enhances the overall aesthetic of the room. Installing these elements requires some handyman skills, but once completed it’s sure to be worth it! The best part is that this kind of project doesn’t take too much time or money all you need are some basic materials and tools, along with a bit of patience.
11. Create a Charming Display Shelf or Mantel
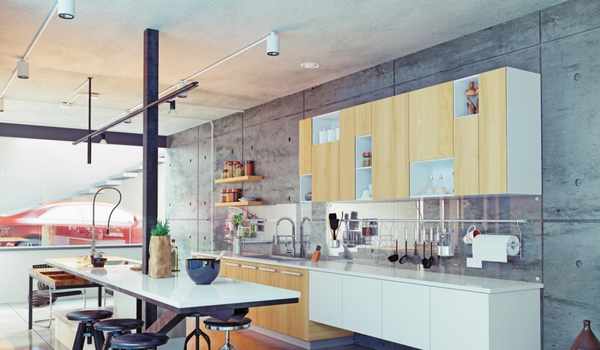
A charming display shelf or mantel can be created with crown moldings and kitchen cabinets with soffits. Adding crown molding to the top of the cabinets not only adds a visually appealing look but also provides extra storage space for decorative knick-knacks and other home accents. Soffit panels add a classic detail to the design, as well as further hide any unsightly items on top of the cabinets that might otherwise distract from your beautiful new display shelf or mantel. Plus, they outlast many other materials used in construction due to their durability and moisture resistance.
12. Installing Soffit Trim

Installing soffit trim is a great way to finish the look of any kitchen. Soffits are the upper parts of cabinets that hang below the ceiling, usually about 12 inches. Adding crown molding and trim to these areas can instantly elevate the style of your kitchen. You can do it yourself with a few simple tools, or hire professionals for assistance.
To begin installing soffit trim, you’ll need some basic supplies like wood glue and a saw. Measure out where you want the crown moldings and cut it accordingly at a 45-degree angle using your saw. Make sure to use an appropriate saw blade for cutting wood, as blades made for other materials may not provide an accurate cut. With all measurements marked out correctly, glue each piece into place and secure them with nails or screws once dry.
13. Elevate a Plain Storage Shelf
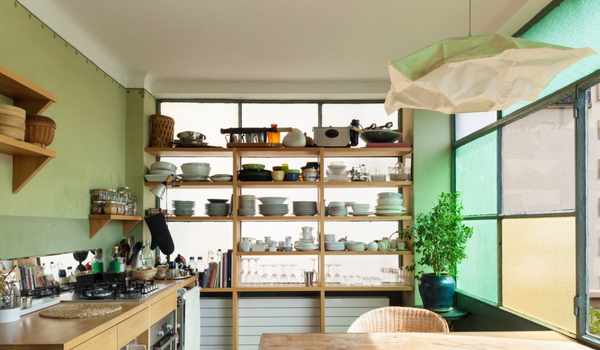
Elevating a Plain Storage Shelf is simpler than you may think. With just the addition of crown molding and kitchen cabinets with soffit, your plain storage shelf can be transformed into a beautiful and organized piece of furniture. This approach will give your storage shelf an extra layer of sophistication that can bring any room to life.
This is one simple way to instantly elevate any piece of furniture; it adds a touch of elegance to any room. Measure the length and width of the shelf, then cut each piece individually. Make sure the pieces fit properly before attaching them with either glue or nails whichever works best for your project. Above kitchen cabinets with soffits provide an easy way to add height without taking up too much space in the room while also providing plenty of additional storage space.
14. Measuring & Cutting the Molding
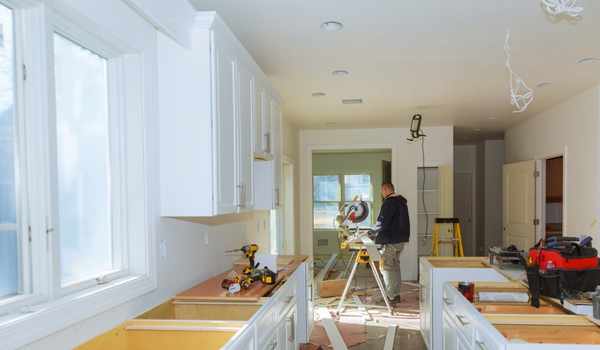
Although the installation isn’t particularly difficult, there is some precision involved in measuring and cutting the molding to ensure that it fits correctly around the soffits. Here are a few tips for making sure you get your measurements right and cuts as clean as possible.
Before you begin, make sure you have all of the necessary tools at your disposal including a tape measure, miter saw or hand saw, leveler, hammer, and nails or glue. To get an accurate measurement for each piece of molding, take into account any irregular angles or corners on either side of the soffit before marking them down with a pencil. Use the miter saw to cut pieces at 45-degree angles when needed.
15. Cover Soffits with Artwork
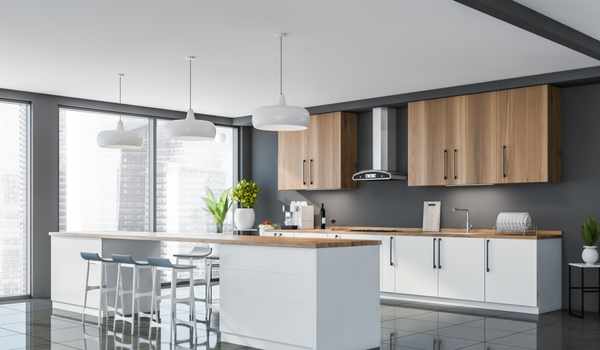
Using artwork to cover kitchen soffits is simple and cost-effective. All you need is some wood or MDF board cut into strips that fit around each soffit, then apply wallpaper paste or adhesive directly onto the board before laying out your chosen artwork. Once everything has been applied, simply attach the boards to the cabinet using nails or screws. For extra stability, use glue or caulk along all of the seams for a secure fit.
16. Frame a Mirror

Frame a mirror with crown molding, and give your kitchen the added elegance it deserves. With this creative project, you can easily transform the look of your above kitchen cabinets with soffits into something eye-catching.
This simple DIY project allows you to customize and enhance the look of any room in your home without having to invest in expensive renovations or materials. To frame a mirror with crown molding, simply measure the size of the mirror, cut trim pieces to fit around its edges, then attach them together using wood glue or nails. Once installed, use caulk or wood filler on any gaps between the trim pieces for a sleek finished look. You can even paint the trim and mirrors in complementary colors or finishes for a more stylish touch.
17. Create Corner Blocks
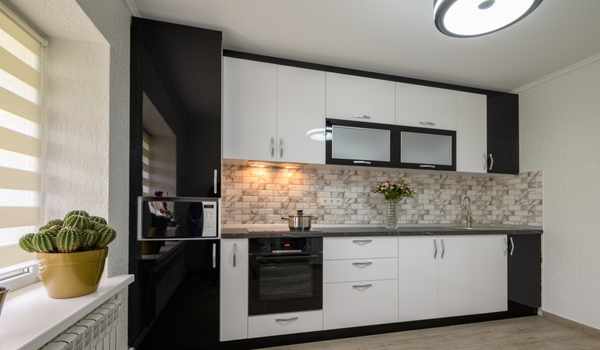
Corner blocks are pieces of wood or other materials used to create symmetrical profiles on the corners of a room. They can be installed on top of wall cabinets to give them extra depth and character while also finishing off the edge with a neat, uniform look. When combined with crown moldings around the tops of wall cabinets and soffits below them, this combination creates an eye-catching design that will make your kitchen stand out from the rest.
18. Finishing Touches

For homeowners looking to finish off a kitchen remodel with the perfect touch, look no further than crown molding and kitchen cabinets with soffits. This provides a luxurious, polished look that won’t break the bank.
Plus, it doesn’t require any extra tools or materials beyond those already needed for the remodel just simple carpentry skills. Installing crown moldings around the perimeter of your wall-mounted cabinets is an easy way to add detail and interest to your space.
Adding soffit accents above and below your cabinet set adds another layer of dimension and texture, making it more visually appealing.
Not only do they add a touch of class, but they also help to conceal unsightly wiring and piping while also providing additional storage space for items you don’t want on display.
How to install crown molding by yourself
Step 01: Measure the size of the room
The first step is to calculate the lengths of each wall that surrounds the room you are installing in. Measure from corner to corner with a tape measure, taking into account any irregularities such as windows or doorways that may affect measurements. Make sure to jot down all measurements and double-check them for accuracy before making any cuts in your material. Once you have calculated all wall lengths, add them up together for an estimate of the total length needed for the project this will inform how much material you need to purchase ahead of time.
Step 02: Cut the crown molding
For Cutting crown molding, you’ll want to use a compound miter saw which allows for angled. Cuts that are necessary for a proper fit when joining two pieces of the crown together on an inside corner or outside corner. It’s also essential that you understand how to properly measure and mark the angles on your piece of the crown so that both ends meet perfectly when butted together in the corners. If done incorrectly, gaps will appear in your finished product not ideal!
Step 03: Clean up the Wood
The good news is that cleaning up your wooden crown moldings doesn’t have to be a chore – all you need are some simple tools and techniques. Start by washing the area with warm water and mild soap. Then use a soft bristle brush to carefully scrub away marks and dirt. Don’t forget those hard-to-reach places; you may want to invest in an extendable duster for this purpose!
Step 04: Locate and mark the wall studs
Wall studs are essential for properly securing the molding in place. To find them, use a stud finder device or knock along the walls until you hear a hollow sound – this indicates that there is no wood behind the wallboard, meaning you have found a stud. Once located, mark each one with a pencil for reference when nailing your crown molding in place. Once all of your wall studs are marked and ready to go. You can begin cutting and installing the crown molding! With these simple steps, you’ll be on your way to creating beautiful installed crown moldings around your house in no time at all!
Step 05: Fit the crown molding in place
Fitting the crown molding, it’s important to be mindful of the angles. First, measure the length of each wall so you know how much trimming will be needed for each piece. Then make sure that any nails or screws are securely fastened into studs so they hold up over time. Finally, use caulk between all pieces for a professional finish that blends seamlessly together.
Step 06: Caulk Gaps
Caulking gaps may seem like a tricky endeavor. But with patience and following some simple guidelines you can easily master this skill. Before starting make sure that all the pieces are properly fitted together so that no large crevices need to be filled before caulking. Measure twice or three times if necessary! When you are ready, use a tube of paintable caulk and apply it along the joint from one end to another using a caulk gun.
Step 07: Painting the Molding
Painting the Molding is a great way to add a touch of sophistication and elegance to your home. Installing crown moldings has become increasingly popular over the years. But it requires a certain level of skill and precision in order to do it correctly. Luckily, there are now plenty of tutorials available online that teach you how to install crown moldings by yourself with ease.
You must take into account the type of material you’re working with. As well as the method and color of paint you’ll use. Once you have gathered all necessary supplies, follow these steps for an easy painting job. Wash down the area before beginning; sand any rough edges apply two coats of primer. And finish off with two coats of satin-finish paint.
Benefits of Crown Molding
Crown molding is a decorative trim piece that can be use to add visual beauty and character to any home or business. It is both a practical and aesthetically pleasing addition to any living space. Providing a number of benefits for homeowners and businesses alike. Installing crown moldings can instantly add value to your home. Increase its aesthetic appeal, help define the style of each room. Reduce energy costs over time, and even create an illusion of height in smaller rooms.
Adding crown molding is an easy way to make any room look more luxurious without having to make major renovations or invest in expensive remodeling projects. These small details can completely transform the look of a space. Providing it with architectural interest while simultaneously adding texture and depth.
The Final Thought
Install crown molding on kitchen cabinets with soffits is a great way to add visual appeal and value to your home. It will take some patience and precision. But with the help of these tips and tools, you can easily complete this project successfully. Remember to measure twice and cut once, check for levelness frequently, use the appropriate adhesive, and don’t forget about caulk! With a little time and effort, you’ll be able to enjoy your new cabinets in no time.
