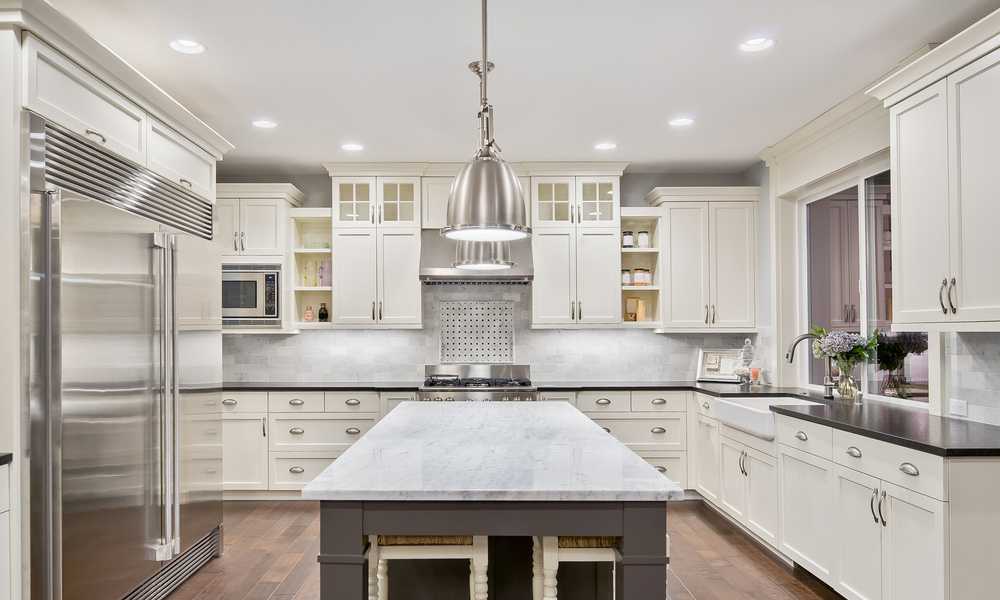
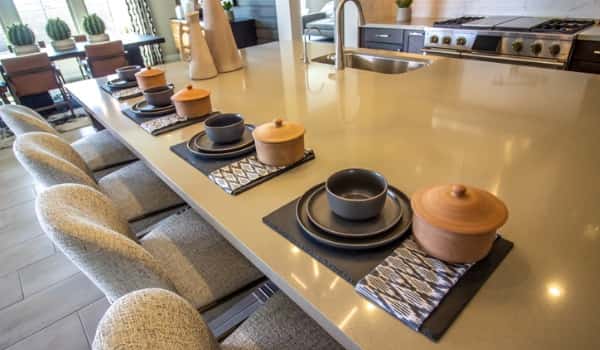
A kitchen bench is a great way to give your kitchen personality, variety, and functionality. This do-it-yourself project is not simply for improving looks. Additionally, It’s about maximizing available space and adding more chairs. You may have a kitchen bench constructed just to suit your preferences, whether they are rustic, modern, or minimalist.
Additionally, It may be made with built-in storage for even greater functionality. This tutorial will walk you through the steps to make your very own kitchen bench, giving your house A cozy and upscale feel. This project gives you the chance to exercise creativity and enhance the experience of living at home, regardless of whether you are an experienced carpenter or A novice DIYer.
How can I create A kitchen bench?
To create a kitchen bench, begin by designing the seat dimensions and style to suit your space and aesthetic. Select suitable materials such as wood, stone, or metal, ensuring they are sturdy And safe for food preparation. Gather necessary tools like saws, drills, and screws.
Cut and assemble the framework, adding legs or supports for stability. Attach the chosen countertop material securely, and finish with sanding and sealing for a polished look. Finally, Install the seat in your kitchen, Making sure it’s level and functional for cooking, dining, And other activities.
What materials And tools are essential for making a kitchen bench?
To craft a kitchen bench, you’ll need essential materials like robust wood or metal for the base structure, a resilient countertop material such as granite, quartz, or wood, along with screws or nails for assembly. Vital tools encompass a saw, drill, measuring tapes, levels, clamps, screwdrivers, sandpaper for a smooth finish, and safety gear like goggles and gloves to ensure a secure and polished outcome.
Tips for crafting A functional kitchen bench
Crafting functional kitchen benches involves thoughtful design And execution. Start by measuring your space and considering the bench’s height And width for comfortable use. Opt for durable and food-safe countertop materials like granite or quartz that are resistant to heat and stains.
Ensure ample storage by incorporating drawers or shelves beneath the benches. Integrate convenient features like built-in utensil holders or power outlets for small appliances. Prioritize sturdy construction, level installation, and a smooth, easy-to-clean finish to create a practical and aesthetically pleasing kitchen seat.
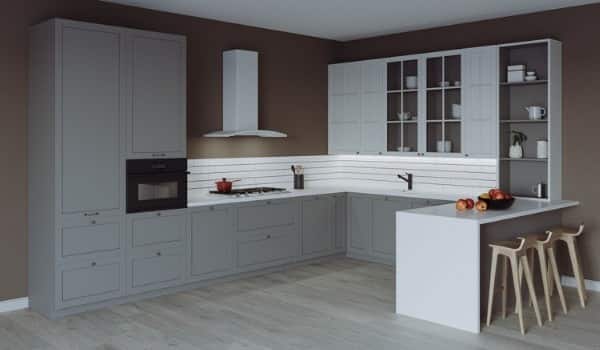
Design and Planning
Bench dimensions And style considerations
When designing A kitchen bench, carefully consider its dimensions and style to suit your space and needs. Determine the appropriate length, width, and height based on available space and intended use. Think about whether you want straight or L-shaped benches, And whether it will have seating on one Or multiple sides. Ensure comfortable seating height and depth for dining or food preparation.
Sketching or finding design inspiration
Start the planning process by sketching your benches’ design, incorporating elements like seating arrangement, storage options (drawers, shelves), and any unique features you desire. Alternatively, seek inspiration from magazines, online platforms, Or existing furniture designs. Adapt And customize these ideas to fit your specific requirements and style preferences.
Material selection: wood type, finishes
Selecting the right materials Is crucial for functional kitchen benches. Choose A wood type that is sturdy, durable, And suitable for kitchen conditions, such as oak, maple, or walnut. Consider finishes that are food-safe and easy to clean, like a clear polyurethane coating or food-grade mineral oil. Ensure the chosen materials and finishes complement your kitchen’s overall aesthetics and color scheme.
Materials and Tools
List of necessary materials
To create a kitchen bench, you’ll need essential materials such as sturdy wood or metal for the framework, a durable countertop material like granite or quartz, screws or nails for assembly, appropriate finishes like paint or sealant, and optional components like drawer slides or hardware for customization.
Essential tools for the project
Essential tools include a saw (circular or jigsaw) for cutting materials to size, a drill for creating holes and attaching components, a measuring tape and level for accurate dimensions, clamps for holding pieces together during assembly, a screwdriver or screw gun for fastening, sandpaper for smoothing surfaces, safety gear like goggles and gloves, and possibly a router for decorative edges or joinery.
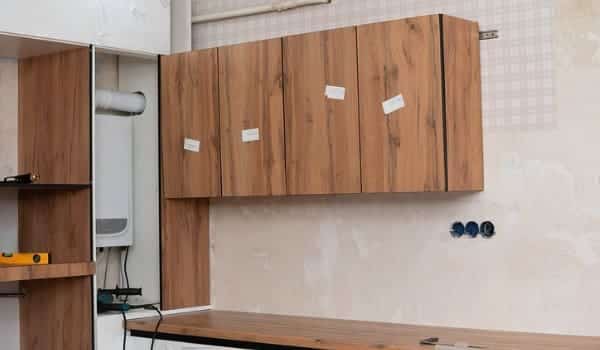
Frame Construction
Cutting and assembling bench legs and supports
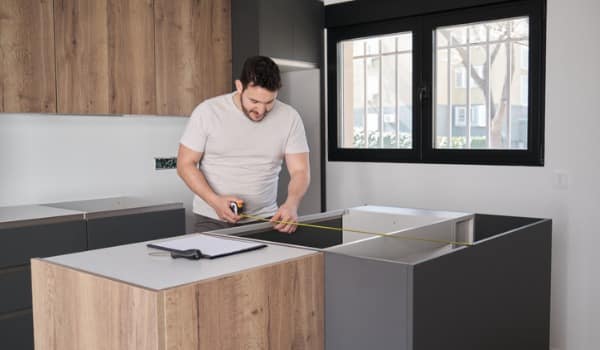
The foundation of your kitchen bench takes shape through a methodical process of cutting and assembling the bench’s legs and supports. Accurate measurement is key as you meticulously cut each piece to match the dimensions specified in your design. Paying close attention to angles and lengths ensures not only the bench’s stability but also a seamless fit within your kitchen space. Precise cuts enable the subsequent phases of construction to proceed smoothly, resulting in a well-crafted framework.
Securing frame components firmly
As you bring the frame components together, it’s crucial to secure them firmly to establish a robust structure. Depending on your chosen method of assembly, employ screws, nails, or other appropriate fasteners. Strategic placement of these connectors, coupled with the use of corner braces or brackets, can significantly reinforce the joints. This step is pivotal In maintaining the bench’s structural integrity over time, Preventing wobbling or shifting that could compromise its functionality.
Sanding for smooth edges And surfaces
Transitioning to the refinement phase, meticulous attention is directed toward sanding the frame. Employ sandpaper of varying grits to achieve a consistently smooth texture, eliminating any rough edges or surfaces. The tactile aspect of the seat gains prominence here, as the absence of splinters or sharp corners enhances user comfort and safety.
Furthermore, The sanded surfaces lay the groundwork for potential finishes Or coatings that will not only protect the wood but also contribute to the bench’s visual appeal. This comprehensive approach To frame construction ensures meticulously crafted kitchen benches that Harmoniously blend form with function.
Bench Top
Measuring, cutting, and fitting the top piece
The creation of the bench top involves a sequence of precise steps, beginning with measuring the designated area and then cutting the top piece to match these dimensions flawlessly. Ensuring accurate measurements is essential for A snug fit within your kitchen space. Once cut, fitting the top piece securely onto the frame completes this foundational stage.
Smoothing and prepping the bench top
Attention then turns to refining the bench top’s surface. Smoothing becomes imperative as sandpaper is skillfully employed to eliminate any rough patches or imperfections. This step, while enhancing the tactile quality of the bench, Also sets the stage for subsequent finishing treatments. Thorough preparation of the bench top contributes to its overall aesthetic and durability.
Application of chosen finish
The final phase involves the application of your chosen finish onto the bench top. Whether it’s A protective sealant, Stain, or paint, the finish not only enhances the visual appeal but also shields the wood from moisture If any inconsistencies are detected, Make necessary adjustments, whether it’s tightening fasteners or aligning components. and wear. Applying the finish evenly and following recommended guidelines ensures a polished appearance and extends the seat top’s longevity. This comprehensive process culminates in a me
Assembly

Attaching the bench top securely to the frame
The assembly stage involves skillfully attaching the bench top to the frame, ensuring a secure and stable connection. Utilize appropriate fasteners, such as screws or brackets, to firmly affix the seat atop to the frame. Precision in placement is crucial here, as a well-attached bench top ensures not only structural integrity but also a polished final appearance.
Double-checking stability and making adjustments
After attaching the bench top, meticulous attention is directed toward double-checking the overall stability of the assembled piece. Carefully assess each joint, angle, and attachment point to ensure there are no wobbles or instabilities. If any inconsistencies are detected, make necessary adjustments, whether it’s tightening fasteners or aligning components. This thorough evaluation guarantees that the kitchen bench Is not only visually appealing but also functional and dependable, Ready to serve its intended purpose seamlessly.
Upholstery/Cushion
Measuring and adding upholstery or cushion
Should you opt for upholstery or a cushioned seating area, the process commences with meticulous measurement. Accurately gauge the dimensions of the bench’s top and decide on the appropriate thickness and size of the cushion or upholstery. This step is crucial to ensure A comfortable And well-fitted seating arrangement.
Fixing materials to the benchtop
With the measurements in hand, proceed to fix the chosen upholstery or cushion materials securely to the bench top. This may involve using staples, adhesives, Or fabric fasteners to affix the materials In place. Attention to detail is paramount here, as a properly attached upholstery or cushion not only enhances comfort but also contributes to the bench’s overall aesthetic. Carefully adhering to best practices ensures a polished finish that complements the rest of your kitchen bench.
Final Touches
A thorough check of connections and joints
The culmination of your bench construction entails A meticulous examination of all connections And joints. Perform a comprehensive check to ensure that every element is securely fastened and aligned. This step guarantees the bench’s structural integrity And long-lasting stability.
Addressing any rough spots
Attention then turns to addressing any remaining rough spots or imperfections. Employ sandpaper or other appropriate tools to gently smooth out surfaces and edges, ensuring a consistently refined tactile experience. By eliminating roughness, You enhance both the safety And comfort of the bench.
Applying final finish touches
The final phase involves applying the last finishing touches to bring your kitchen bench To its full potential. Whether it’s a final coat of paint, a protective sealant, or other decorative elements, these details contribute to the seat’s visual appeal and durability. This comprehensive Approach ensures that your kitchen benches Are not only functional but also a harmonious addition to your living space, reflecting your craftsmanship and attention to detail.
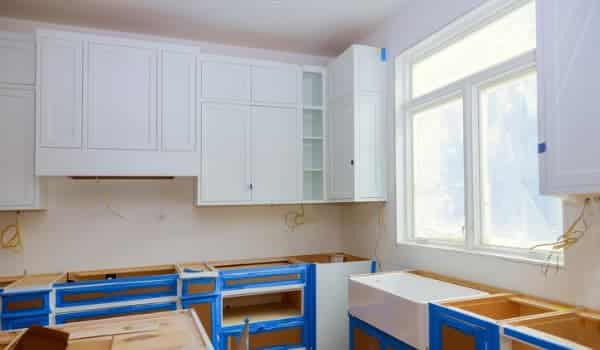
Installation

Selecting an ideal spot in the kitchen
The installation process begins with the strategic selection of An ideal spot within your kitchen. Consider factors such as traffic flow, proximity to dining or cooking areas, And overall aesthetics. Finding the right location ensures that your bench integrates seamlessly Into the kitchen’s layout And serves its intended purpose effectively.
Proper placement against a wall or island
Once the spot is chosen, the focus shifts to proper placement against a wall or island. Ensure that the bench is level and aligned with surrounding elements. Pay attention to spacing, leaving adequate room for movement and comfortable seating. This step ensures that the benches not only fit harmoniously within the space but also enhance the overall functionality Of the kitchen.
Securing the bench if needed
In cases where additional stability is required, proceed with securing the bench. Depending on the bench’s design and the kitchen’s structure, this may involve anchoring the seat to the floor, wall, or island. Utilize appropriate hardware and fasteners to ensure a secure and immovable installation. This final touch guarantees the safety and reliability of the seat, making it a valuable and integral part of your kitchen environment.
Maintenance

Cleaning and upkeep guidelines
Maintenance of your kitchen bench involves consistent cleaning and upkeep. Depending on the materials used, follow the manufacturer’s recommendations for cleaning agents to maintain the bench’s finish and structural integrity. Wipe down surfaces regularly to prevent the buildup of dirt, spills, and stains. For wooden surfaces, periodically apply appropriate wood conditioner or oil to keep the wood nourished and protected. Avoid using abrasive cleaners that could damage the finish or materials.
Regular checks for stability and wear
Regular checks for stability and wear are essential to ensure your kitchen bench remains safe and functional. Inspect connections, joints, and fasteners for any signs of looseness or damage. Address any issues promptly by tightening screws, replacing worn-out parts, or making necessary adjustments. This proactive approach helps prevent potential accidents and prolongs the bench’s lifespan. Regular maintenance routines and attentive care will ensure that your kitchen benches continue to serve their purpose effectively and retain their aesthetic appeal over time.
Looking for DIY instructions to make a custom kitchen bench
Embark on your DIY journey to fashion a tailored kitchen seat by meticulously planning dimensions and design. Assemble sturdy materials like wood for the frame and a durable countertop material of choice, employing essential tools such as saws, drills, and screws. Skillfully construct the frame, secure the benchtop, and refine edges through sanding. If desired, incorporate additional features like storage or upholstery. Thoughtfully position the benches in your kitchen, ensuring stability, and periodically assess their condition for lasting functionality and pride in your personalized creation.
Need a beginner-friendly guide to creating a kitchen bench – any recommendations?
To embark on crafting a kitchen bench as a woodworking novice, start with a well-thought-out plan encompassing dimensions and style. Opt for manageable materials like pine for the frame and MDF for the benchtop, along with basic tools such as a saw, drill, measuring tape, and screws. Begin by assembling the frame meticulously, securing legs and supports, and then attach the benchtop securely. Sand surfaces for a smooth finish, and if desired, add a cushioned seat with foam and fabric. Properly install the benches against a wall or island, and don’t forget regular checks for stability and wear. This gratifying journey offers both learning and accomplishment as you master the art of seat creation.
What are some common mistakes to avoid when building a kitchen bench?
When embarking on the construction of a kitchen bench, steer clear of common pitfalls to ensure a successful project. Avoid imprecise measurements and inaccurate cuts that can compromise the bench’s fit and stability. Neglecting proper fastening and secure connections may lead to wobbling or weak joints over time. Overlooking sanding and finishing steps can result in rough surfaces and an unfinished appearance. Failing to consider the bench’s location and how it complements your kitchen layout might disrupt traffic flow or hinder functionality. Lastly, rushing through the process without regular checks for stability and wear can lead to overlooked issues. Vigilance, precision, and thoughtful planning will help you sidestep these errors and create a kitchen seat you can be proud of.
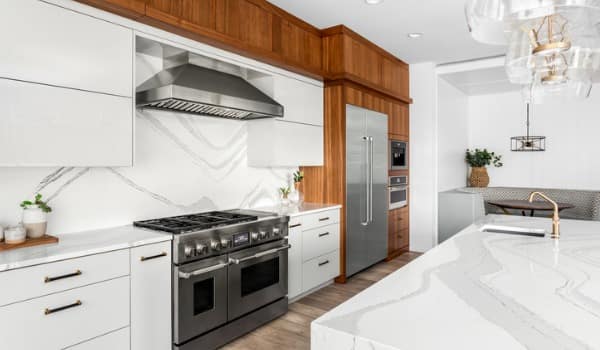
Conclusion
Building a kitchen bench is a rewarding and achievable project that can greatly enhance your kitchen space. With the right tools, materials, and a clear plan, you can create a custom seat that fits perfectly in your kitchen and meets your needs. Whether you choose to build a simple or more intricate design, the result will be a functional and stylish addition to your home. So why not take on this DIY challenge and transform your kitchen into a more inviting and practical space? Start planning today and enjoy the satisfaction of creating something beautiful with your own hands.